A couple months ago we tackled a pretty big DIY! At the end of December we replaced our dining room sliding door. Our old sliding door was a French door style with a ton of grid lines. We wanted something that opened in the middle and was more modern / transitional.
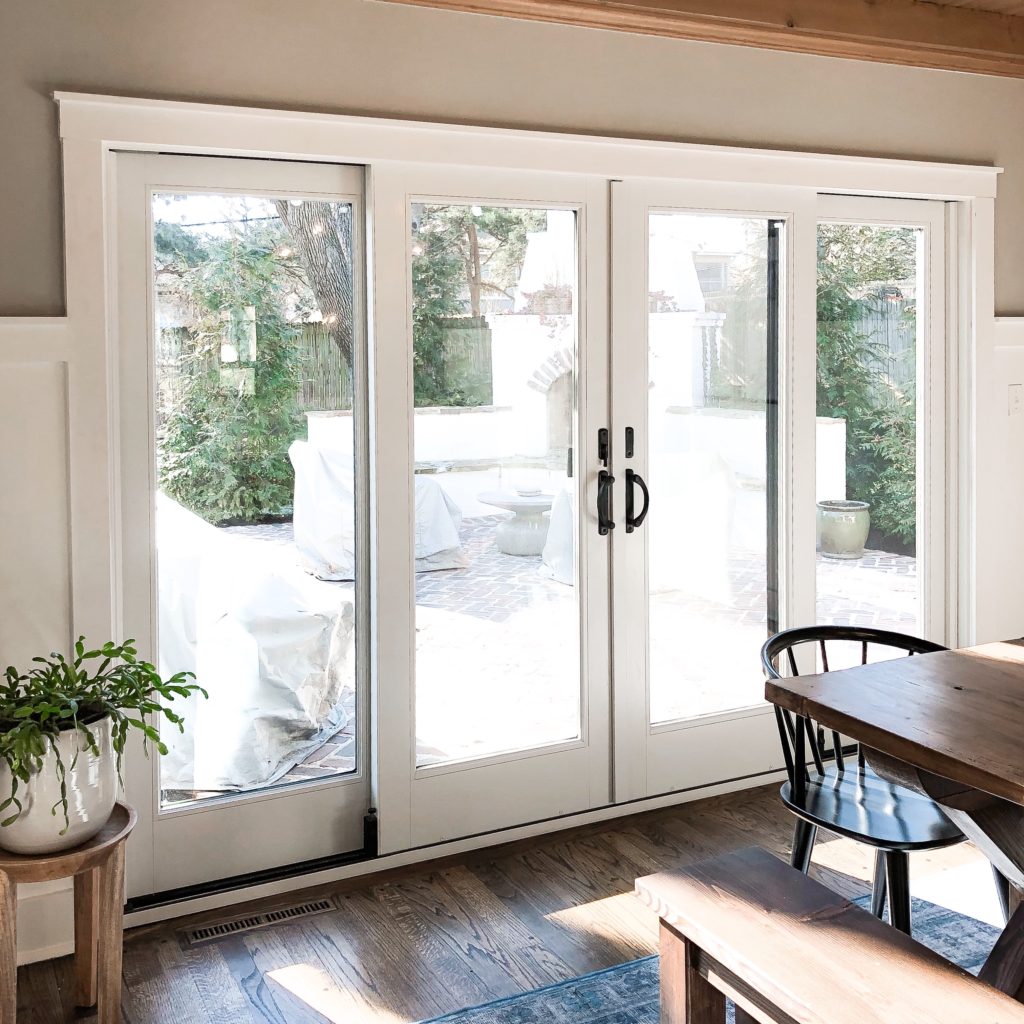
Our old sliding door was a French door style with a ton of grid lines. The new sliding door opens in the middle, has four panes verses three, is black on the outside white on the inside, and has NO grid lines! It’s perfect!
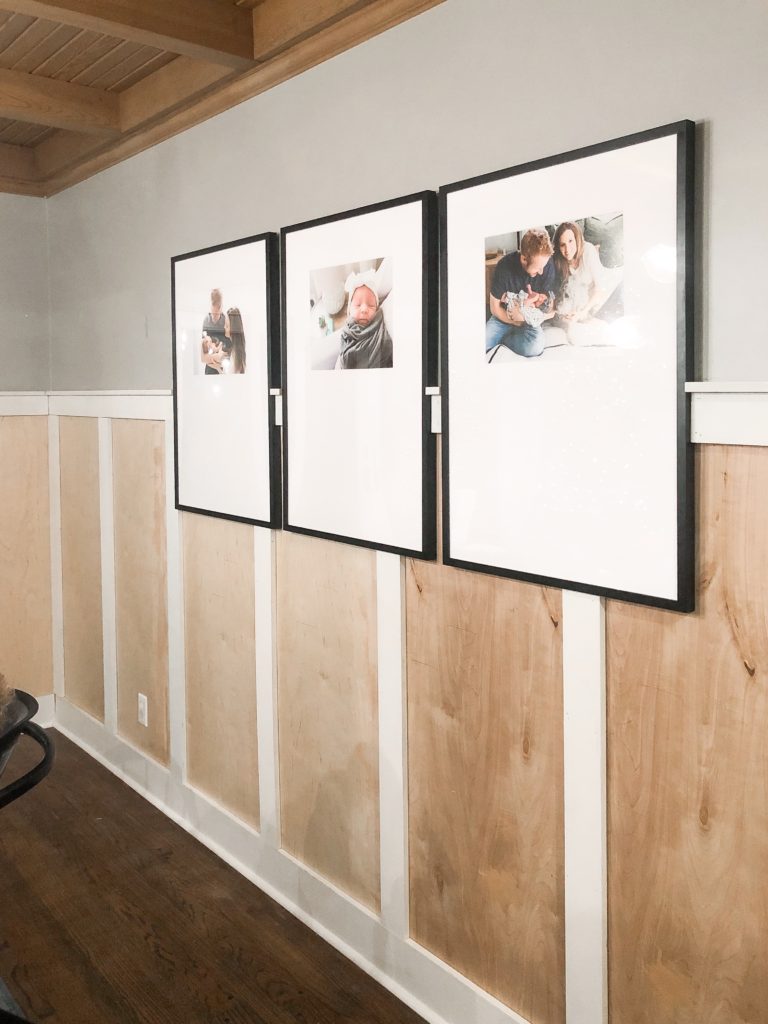
When demoing our the old slider we decided now would be a good time to demo out the old wood paneling in our dining room, as well. We had planned on doing board and batten in the dining room for quite some time. I wanted wood paneling that came up higher and made more of a statement. We went with 5ft board and batten – this project is super easy if you use your existing Sheetrock however when we demoed our our old wood paneling we discovered there wasn’t Sheetrock behind it. For this reason, we had to put plywood underpayment on the wall first.
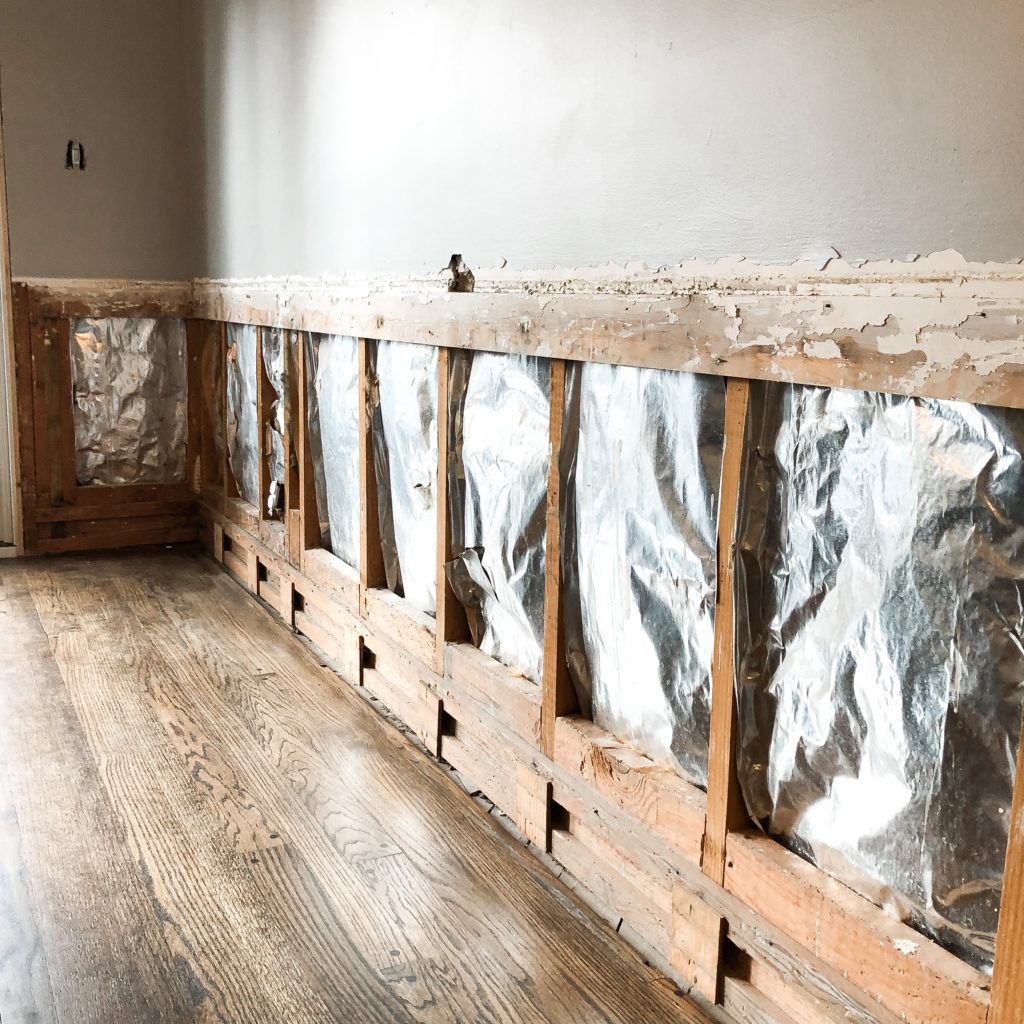
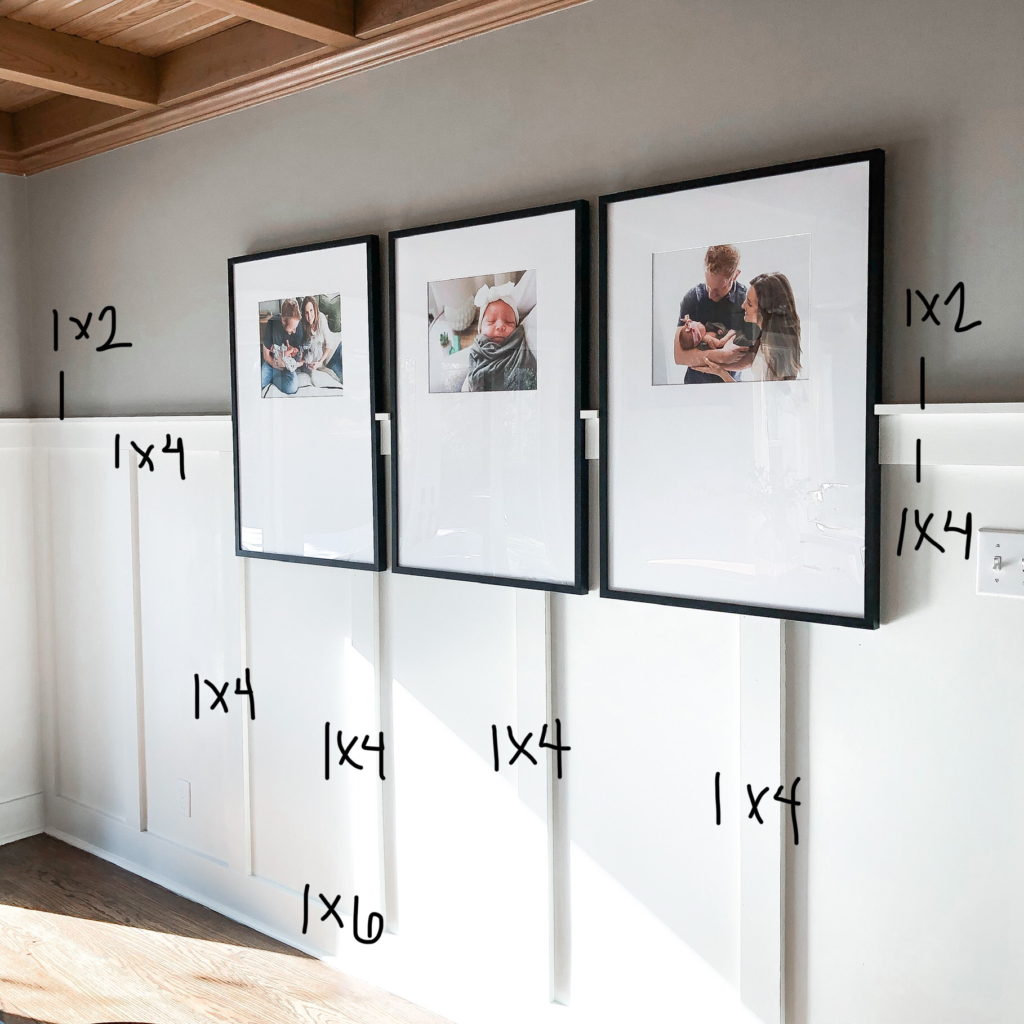
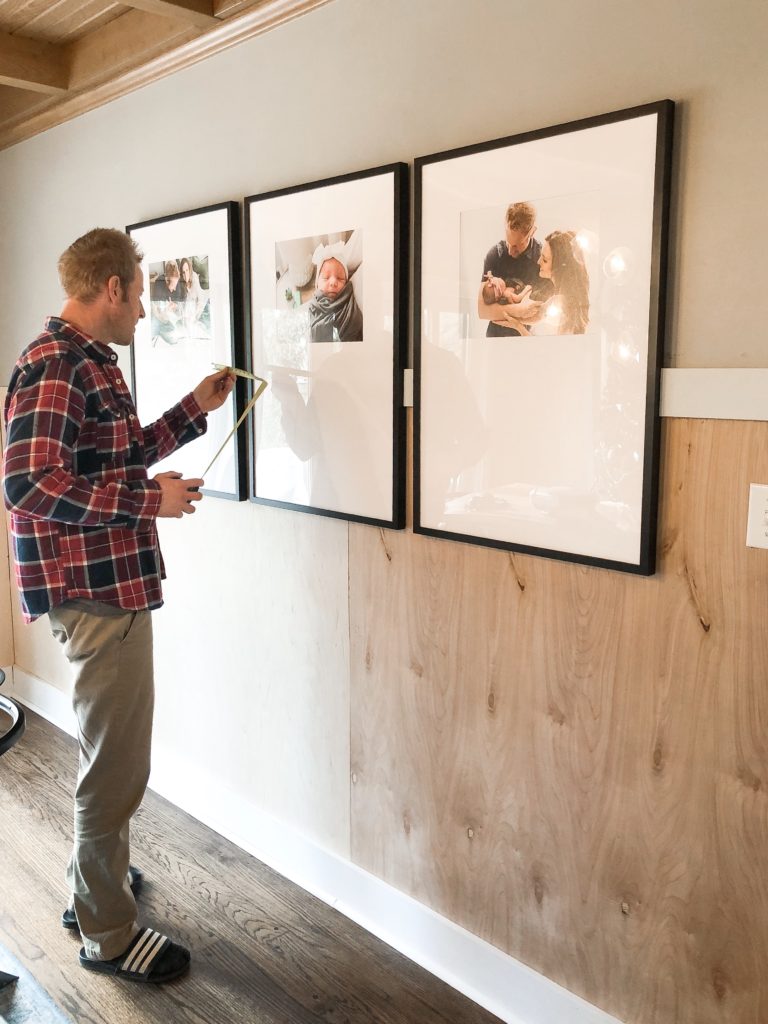 We used 1X4 primed finger joint boards for the battens and top trim, 1X6 primed finger joint boards for the baseboards, and 1X2 primed finger joint boards for the top shelf (above the 1X4). I am not going to reinvent the wheel and do a full blog post on how to install board and batten – there are a ton of how-to posts on Pinterest! I did struggle to find a clear formula to use when determining the spacing between each board. After much trial and error I finally got it!
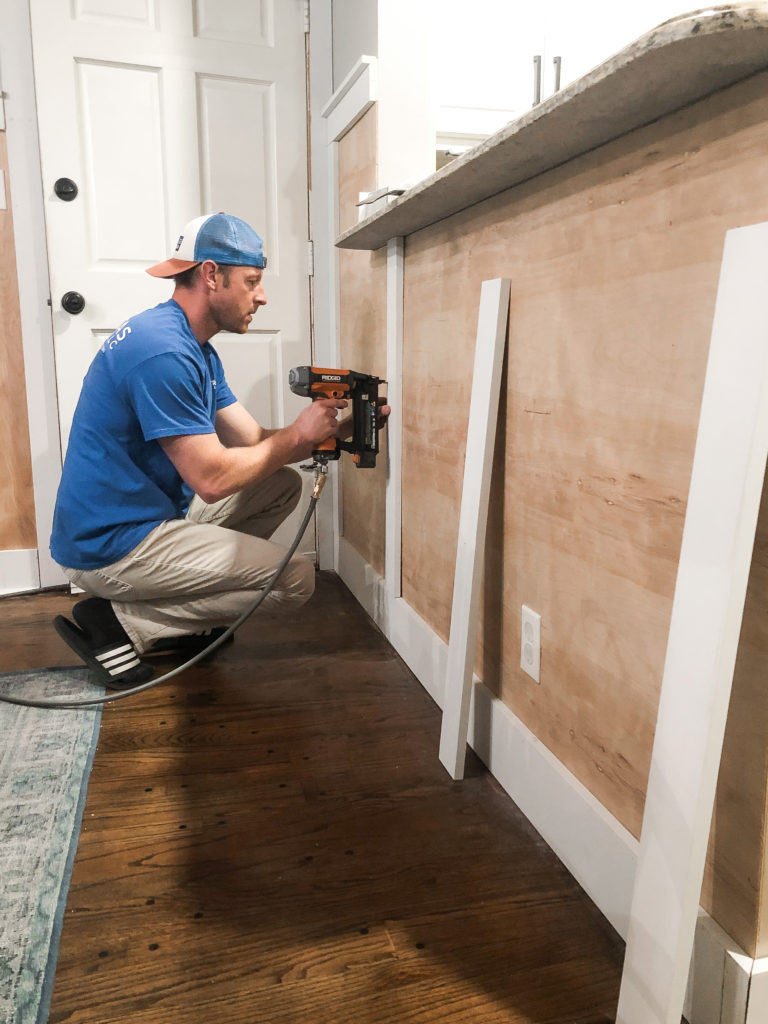
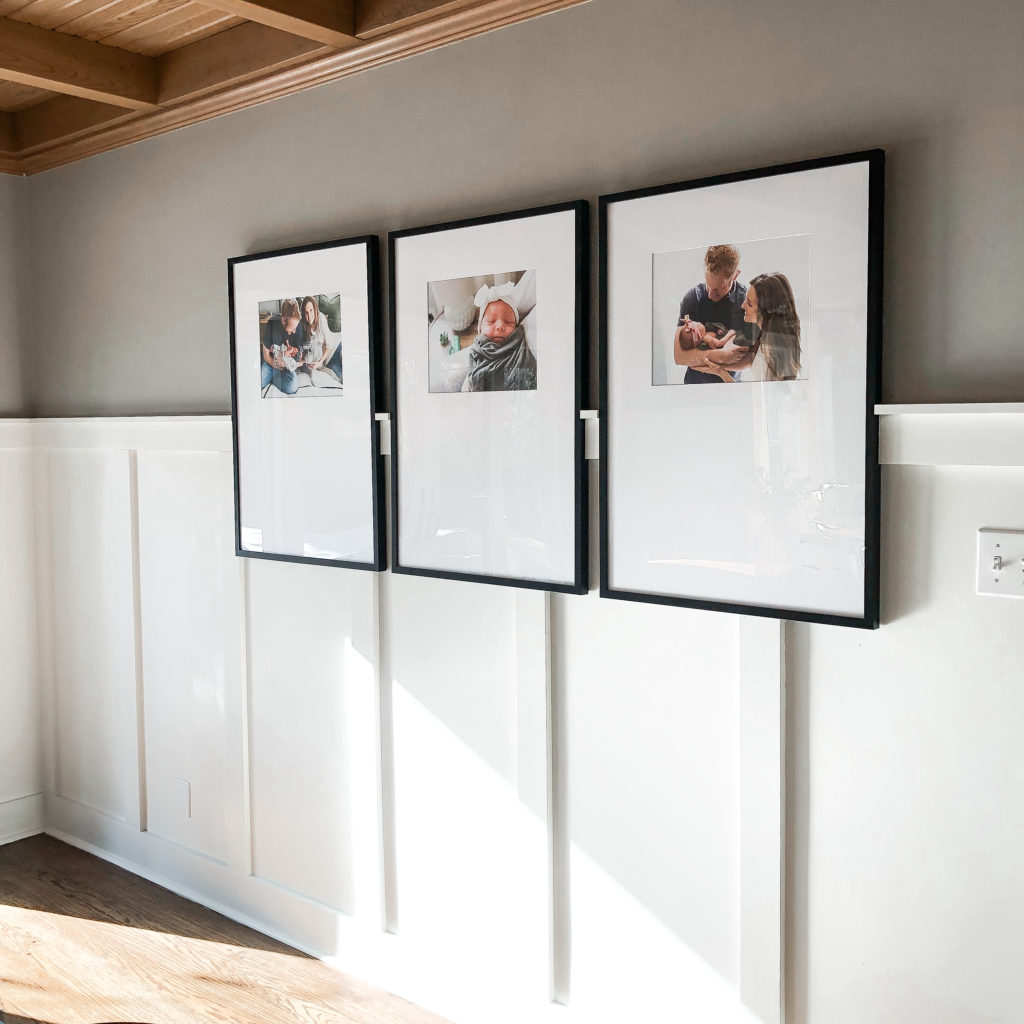 Here’s the formula I used! This method is ideal if you prefer to measure before installing.
- Measure the length of the wall
- Decide how many batten / vertical pieces you want on your wall (I wanted ours around 18″ apart which was roughly 7 boards including the door trim). This equates to how many spaces you want + one.
- Subtract the origin batten (3”) from the length of the wall.
- Divide the remaining length by the number of space on your wall.
- Begin measuring from the corner of the wall. Make a mark – This will be the start of your first batten.
On one wall, the battens are 19.5” apart and on another they are 17.5” apart. I tried to stay within 17.5”-19.5” when spacing out the battens. When you look at the room as a whole you can’t even tell they aren’t all exactly the same. Since each wall length is different, there will be a variation in spacing per each wall.
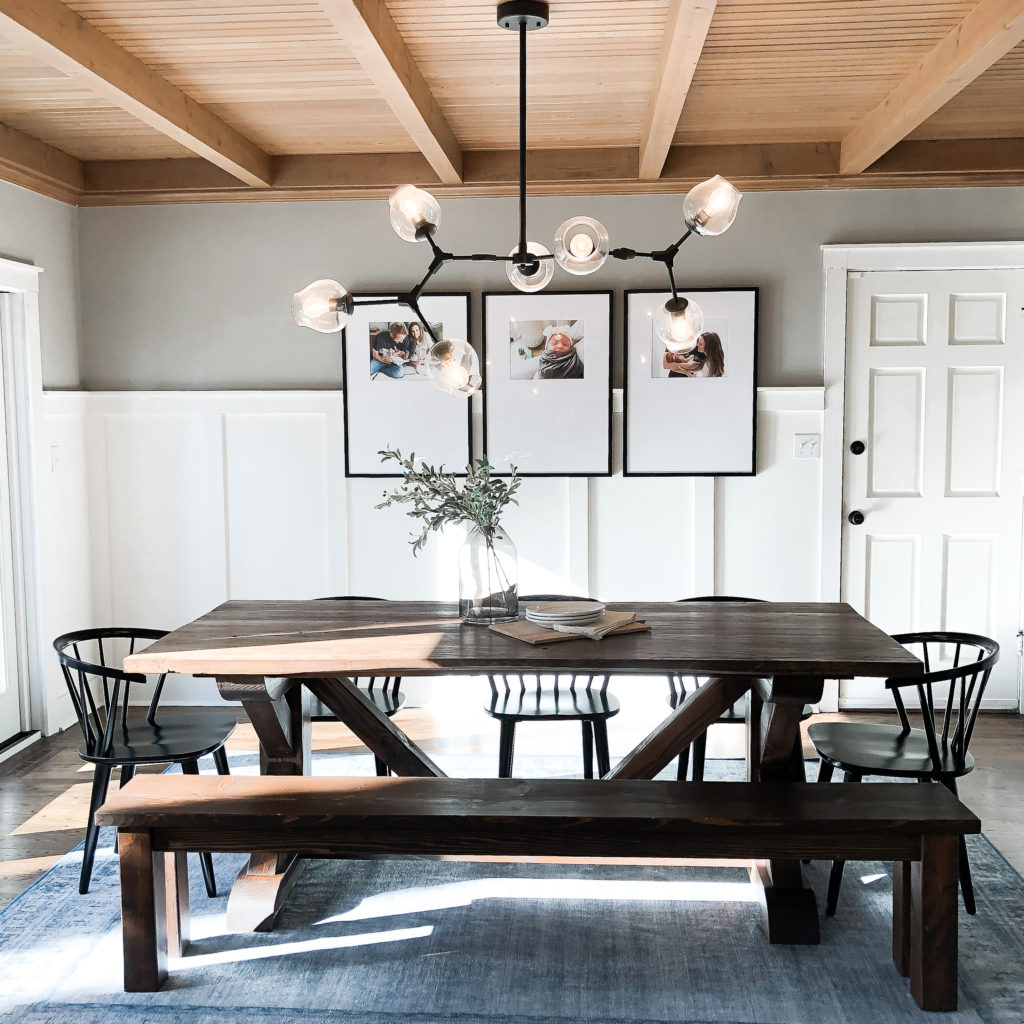
Also, if you plan on tackling this project you MUST focus on one wall at a time when determining spacing. Each wall will be different so focus on one wall at a time, not the entire room.
Overall, I love the look of the dining room. It’s modern, transitional, and updated! I hope this tutorial helps anyone looking to tackle this project!
Thanks for stopping by, friends!
Jamie
Beautiful! Where is the light fixture from?
Where is the light fixture from and your rug? Links would be greatly appreciated.
Jamie,
We’re looking for some ideas and found your article. Nicely done, and thank you for the formula to determine spacing of the boards.
We love the slider. What is the make and model of the slider doors you installed?
I too would like to know where the slider doors are from?
It’s an Andersen Window door ordered through McCray Lumber
What color white did you use?
Love this project! We just installed some in our master bedroom & are trying to land on paint colors. What did y’all use? I love the combo!
Where is this door from?
Where is your light fixture from?
It was from pottery barn
What color paint did you use on the walls?