I am embarrased to show y’all what our basement looked like “before.” You see, we’ve had a 300 sq ft finished space in our basement that we let go by the wayside. It was a second hand decor store, Brett’s office, laundry catch-all, and make shift playroom. I found myself complaining about not having enough space to let Bennett roam free so I took matters into my own hands.
I started by clearing our the room – I sold the furniture and threw out the clutter. I then had the entire room painted Snowbound, by Sherwin Williams. This cost $800 – It was worth every penny. The painters came in and repaired the walls (they had been scuffed by, knicked, etc.) The clean, white walls make the space feel so much bigger and brighter! We also had the windows replaced in the basement. The windows before felt like a jail. They had a metal frame with a metal bar going across them (WHAT!?) The new windows have a white frame and white trim around them – They look SO much better.
BEFORE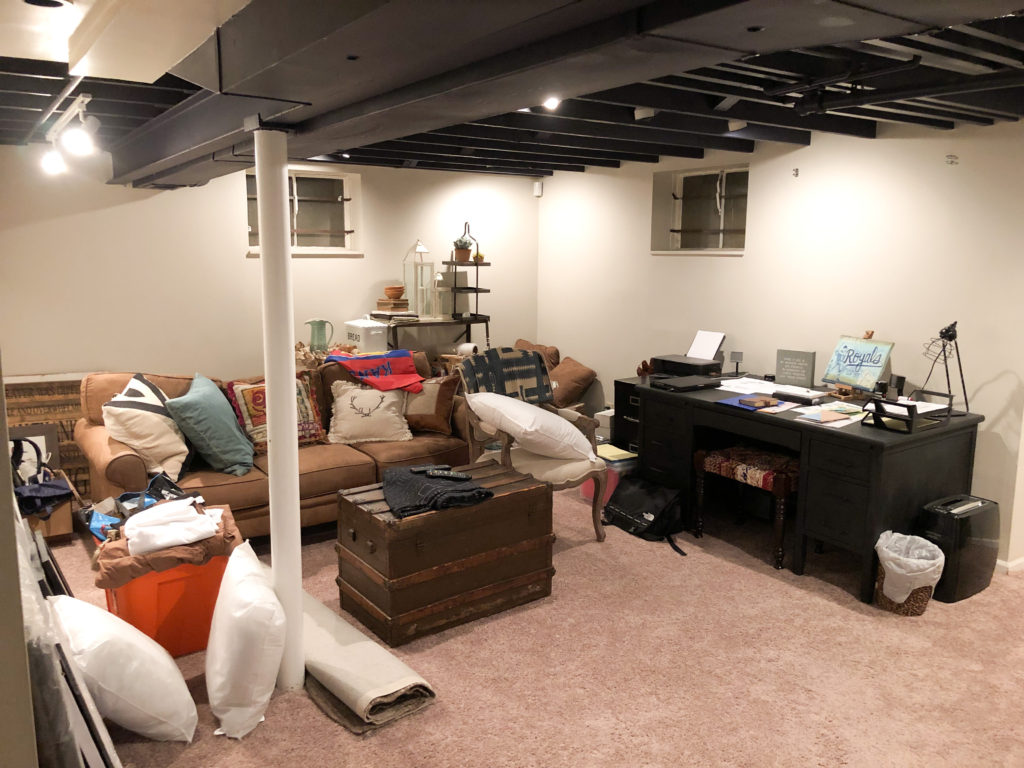
Y’all, look at those windows. Creepy.
With a fresh clean canvas, I started by painting a half chalkboard wall on one wall. I was craving color in this space but didn’t want it to feel cluttered or too busy. My style tends to be more minimal and clean – I also didn’t want the space to feel too kid-ish. I found this wallpaper on Etsy and immediately thought “Hey! I could do that!” Wallpaper was not an option in this space because our ceiling has exposed beams – I would’ve had to cut the paper around each beam. Not gonna happen. I went to Sherwin Williams, bought seven different paint samples (colors shown below) and had at it. I used round foam brushes, regular Purdy brushes, small rollers, smaller paint brushes, and TONS of painters tape.
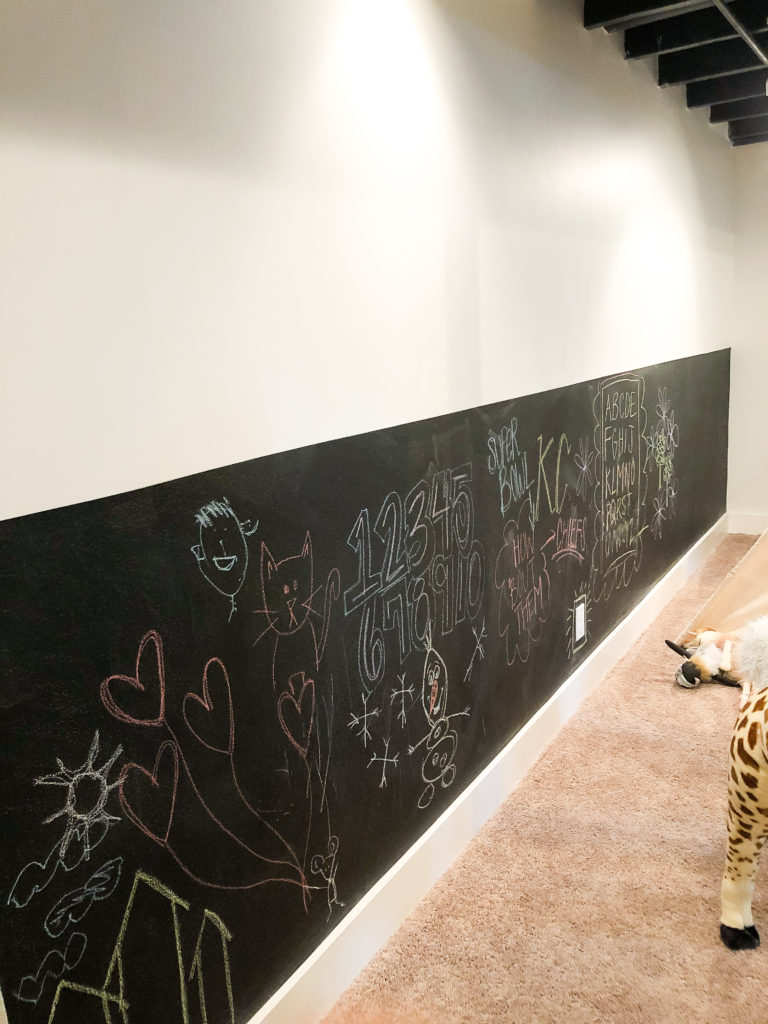
Chalkboard wall opposite mural wall
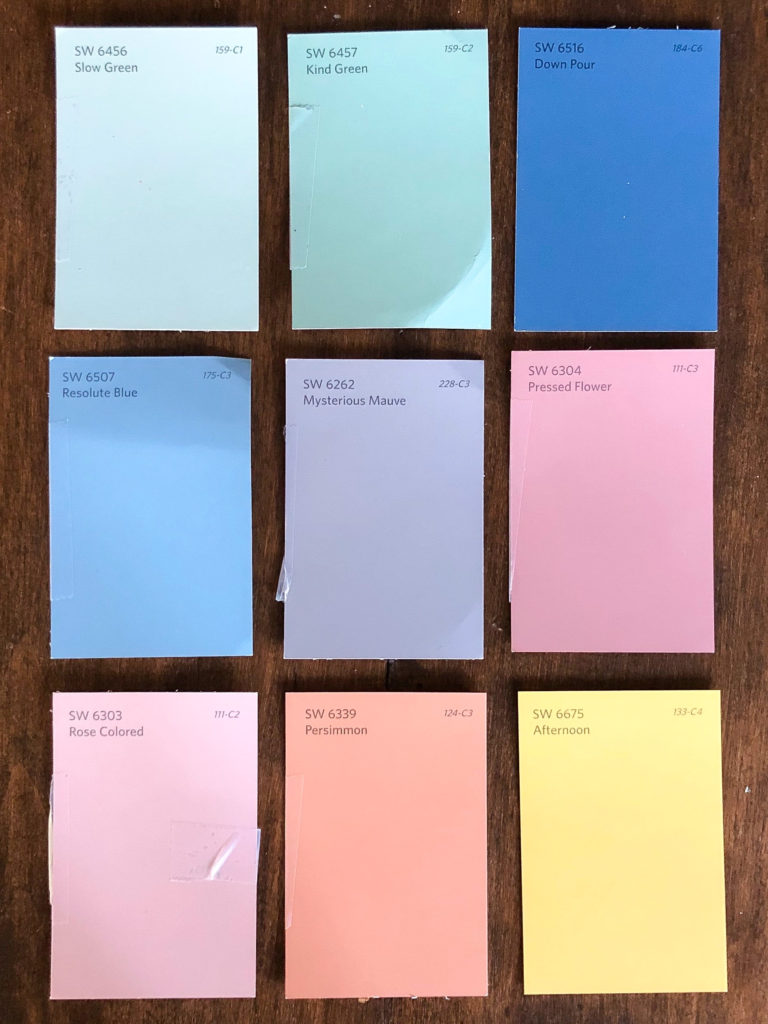
I started with the blocks of color with straight edges and/or large section of color. I taped off various sections of the wall using painters tape. No block of color was a perfect shape (like a square) – They are all odd shapes with straight lines. For the next layer I used a regular paint brush to paint blocks of color with more carefree edges. I overlapped this layer with the first layer to make it more one piece of art and more abstract. I then free-handed the shapes you see with a wavy edge and/or “scribbles.” The last layer was the black dots, the black lines, the white blocks over the navy color block, the flowers, and the dry brush strokes over the lavender section.
The Many Stages of the Mural Wall
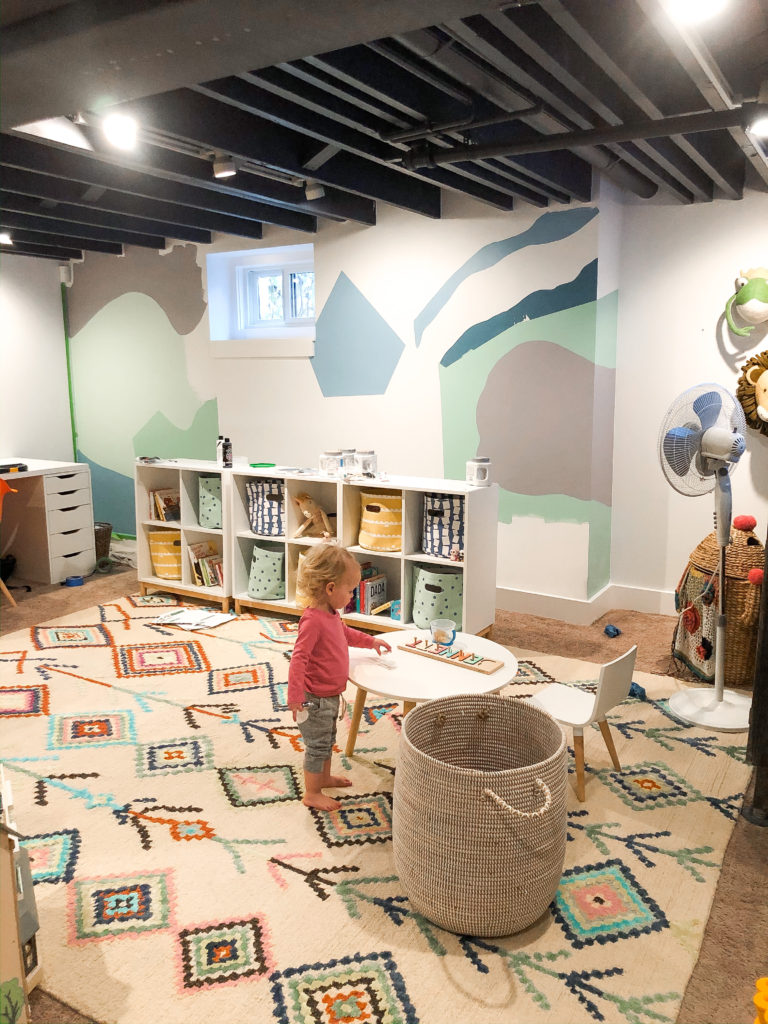
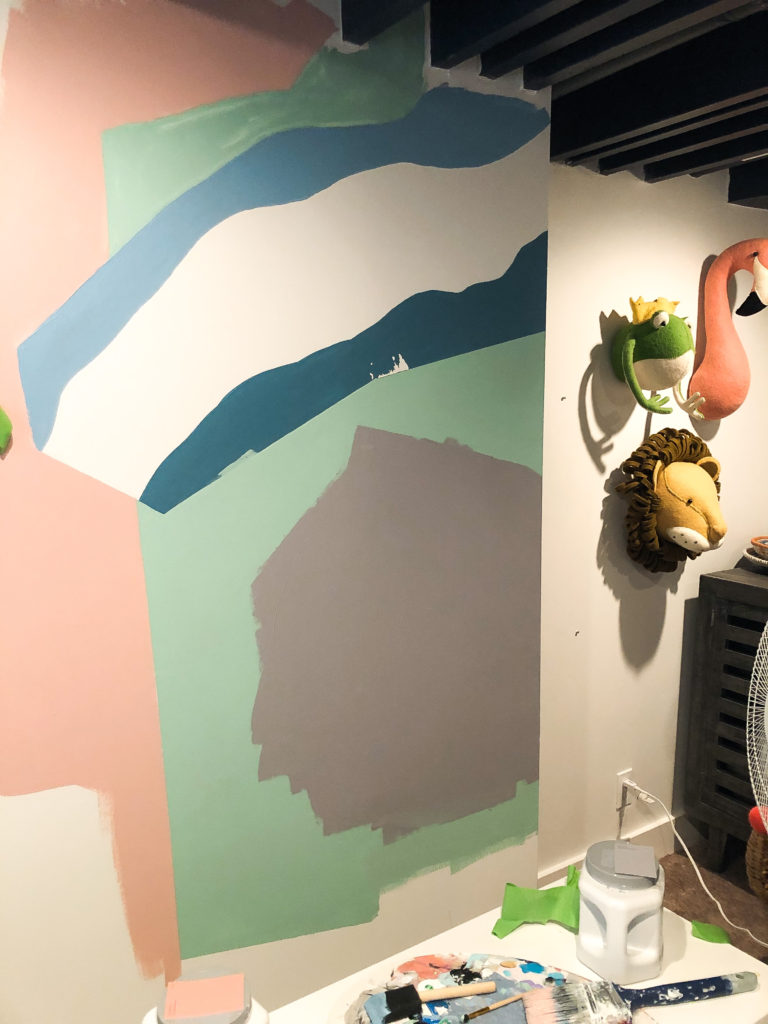
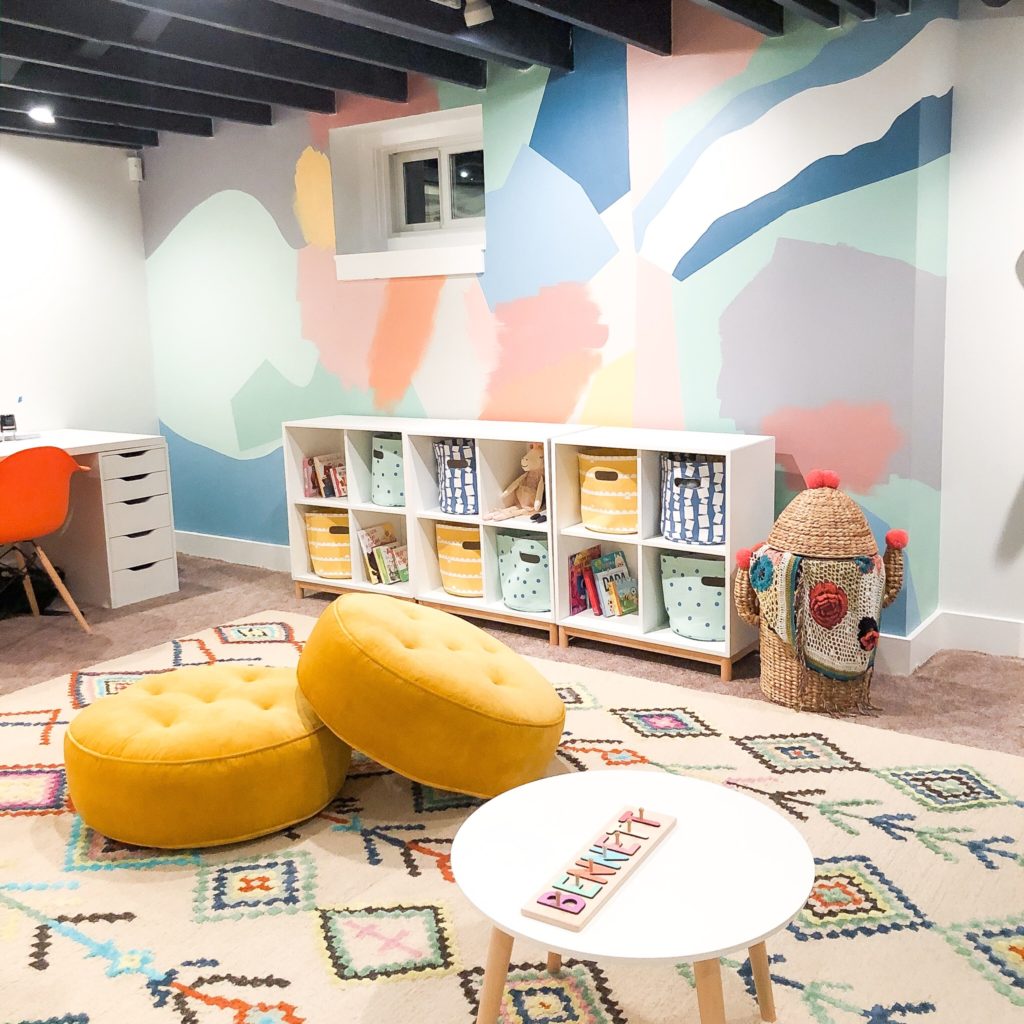
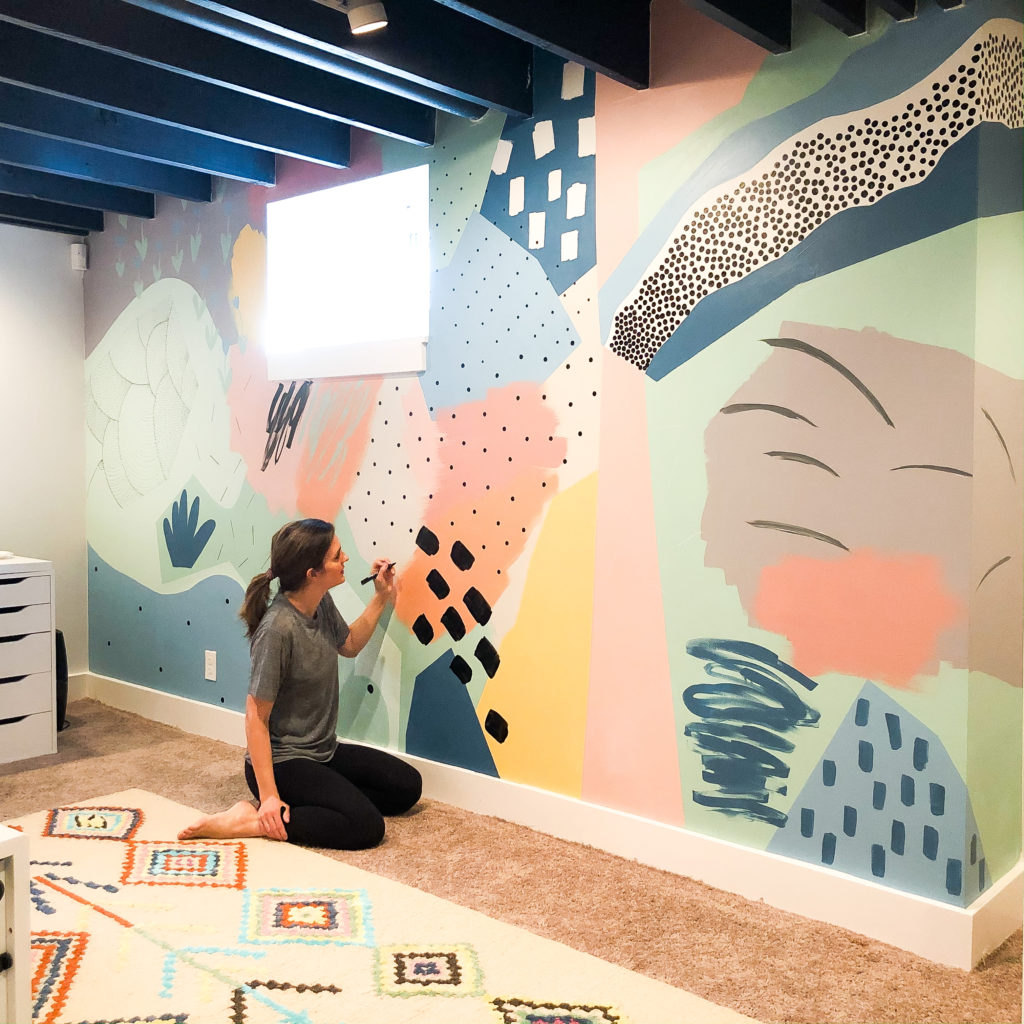
In the beginning I thought – What have I done? I ruined my perfectly painted white wall and am going to have to paint over this disaster. As I started on the second layer I could see it coming to life. I took a poll on Instagram and lots of folks said early on they did not see my vision. This project requires patience… lots of patience. I truly think anyone could tackle this project if they take it one layer at a time. I love this design because it stands the test of time. It is not too “kid-ish” – This room could easily transition to a fun media room, or teenage space.
THE FINISHED PRODUCT
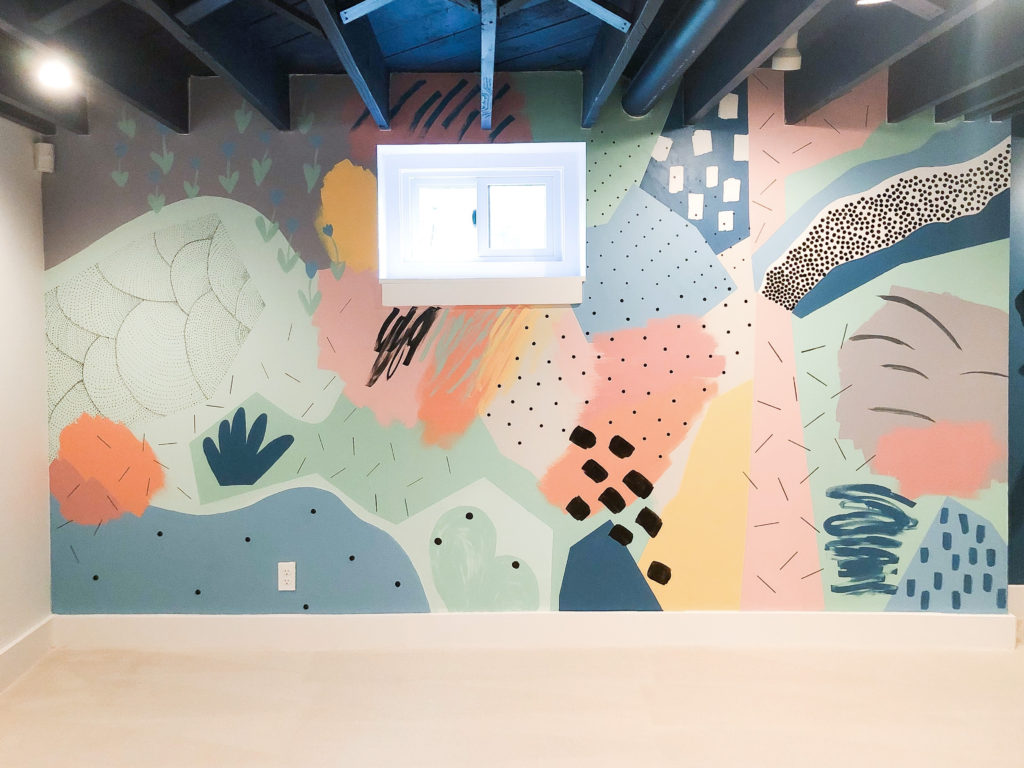
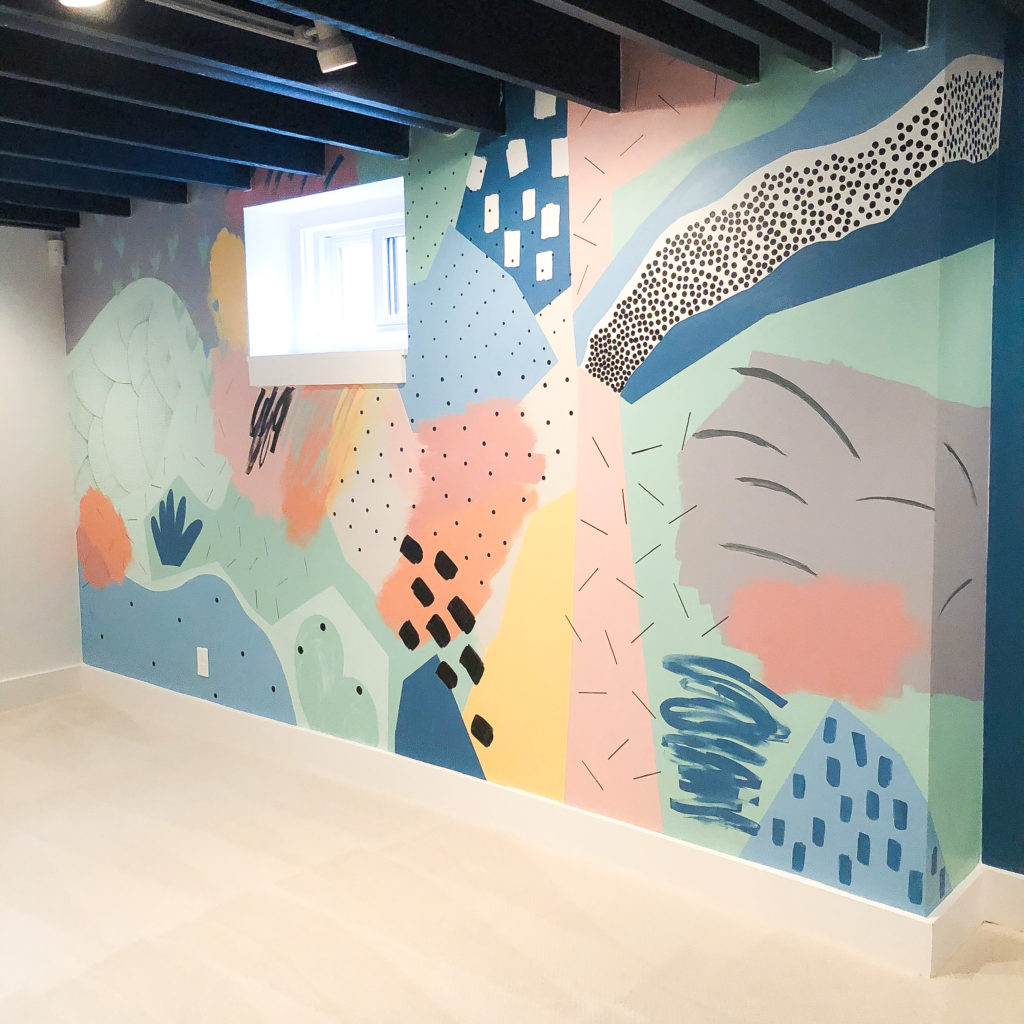
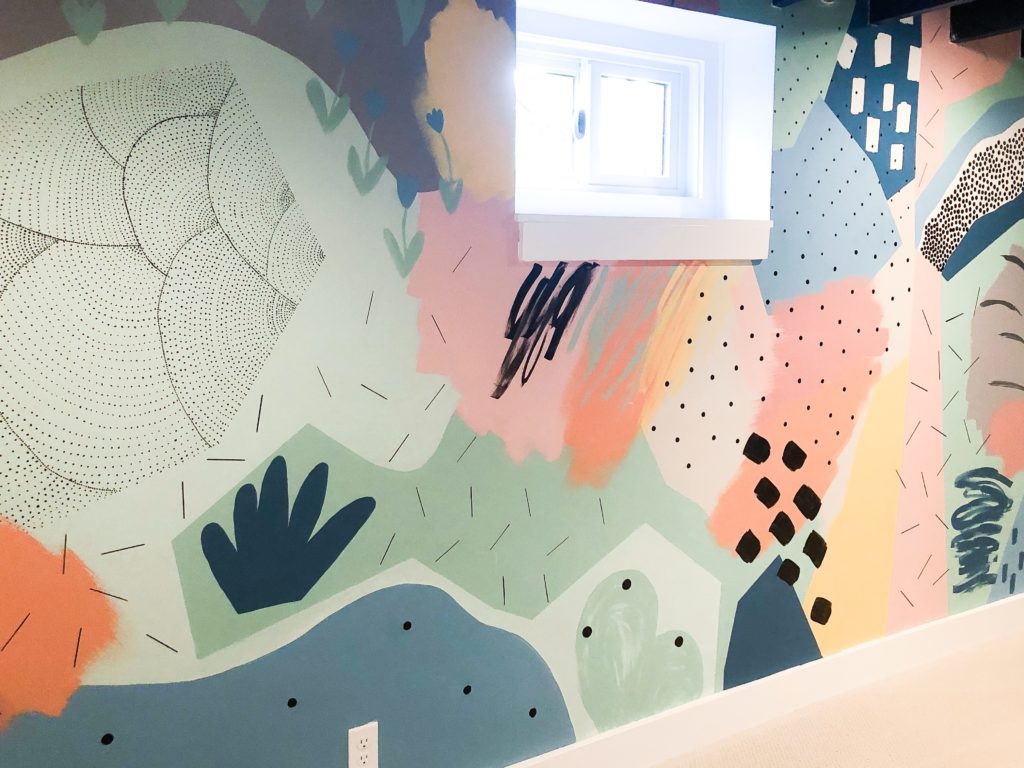
Here she is all styled and ready for some action!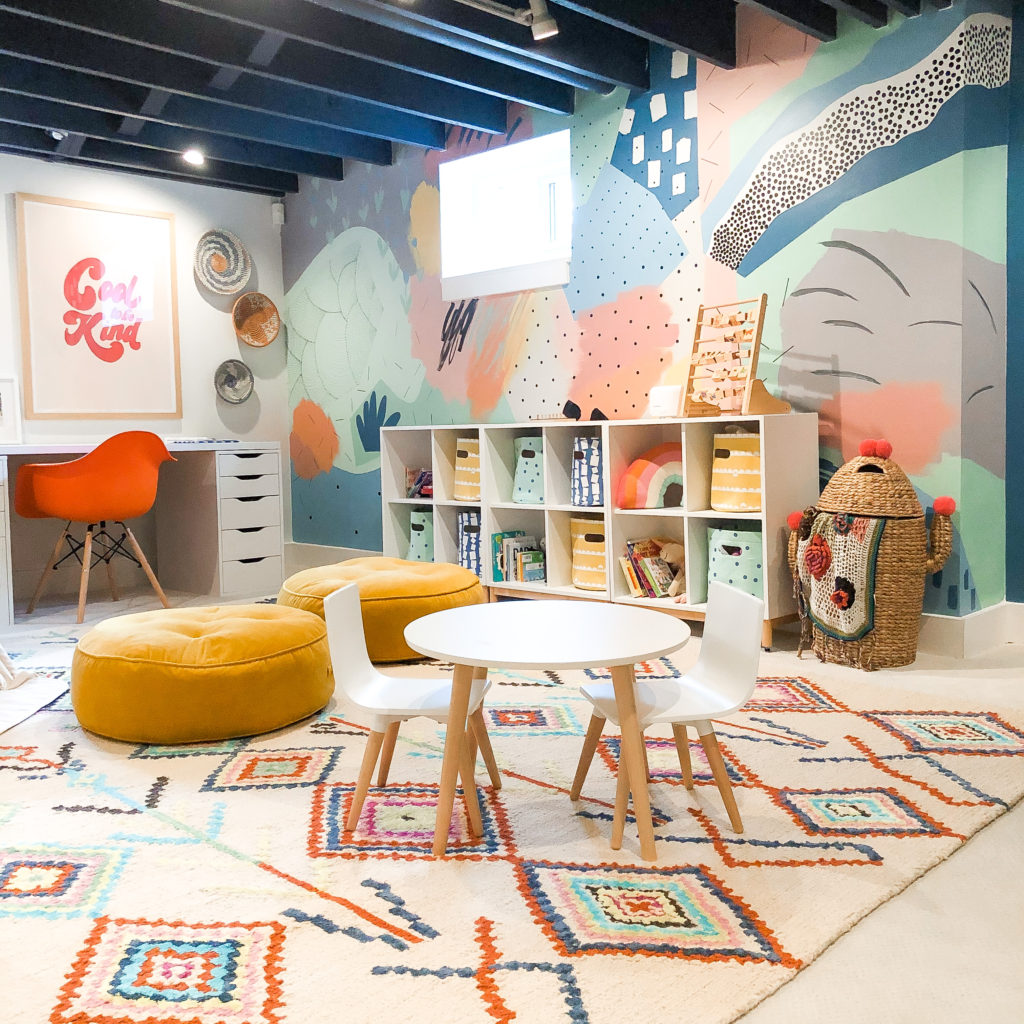
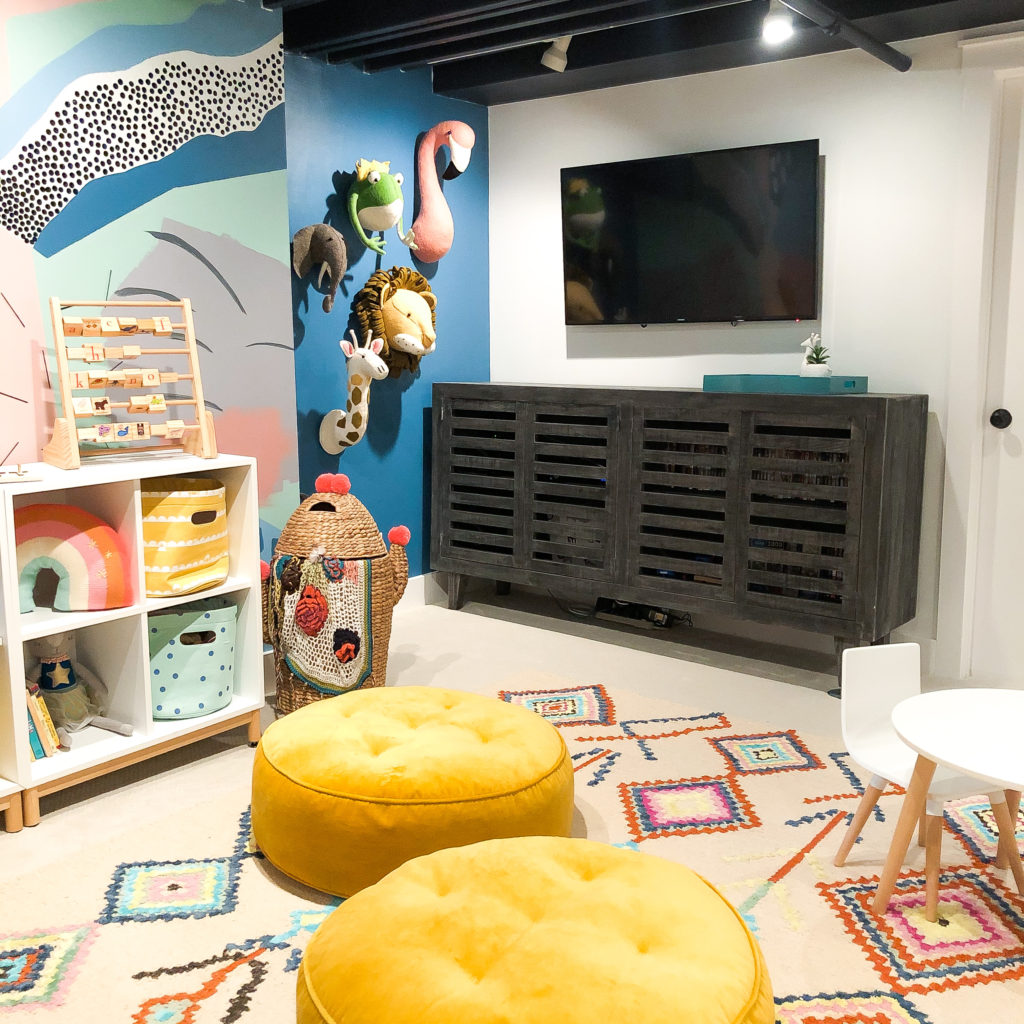
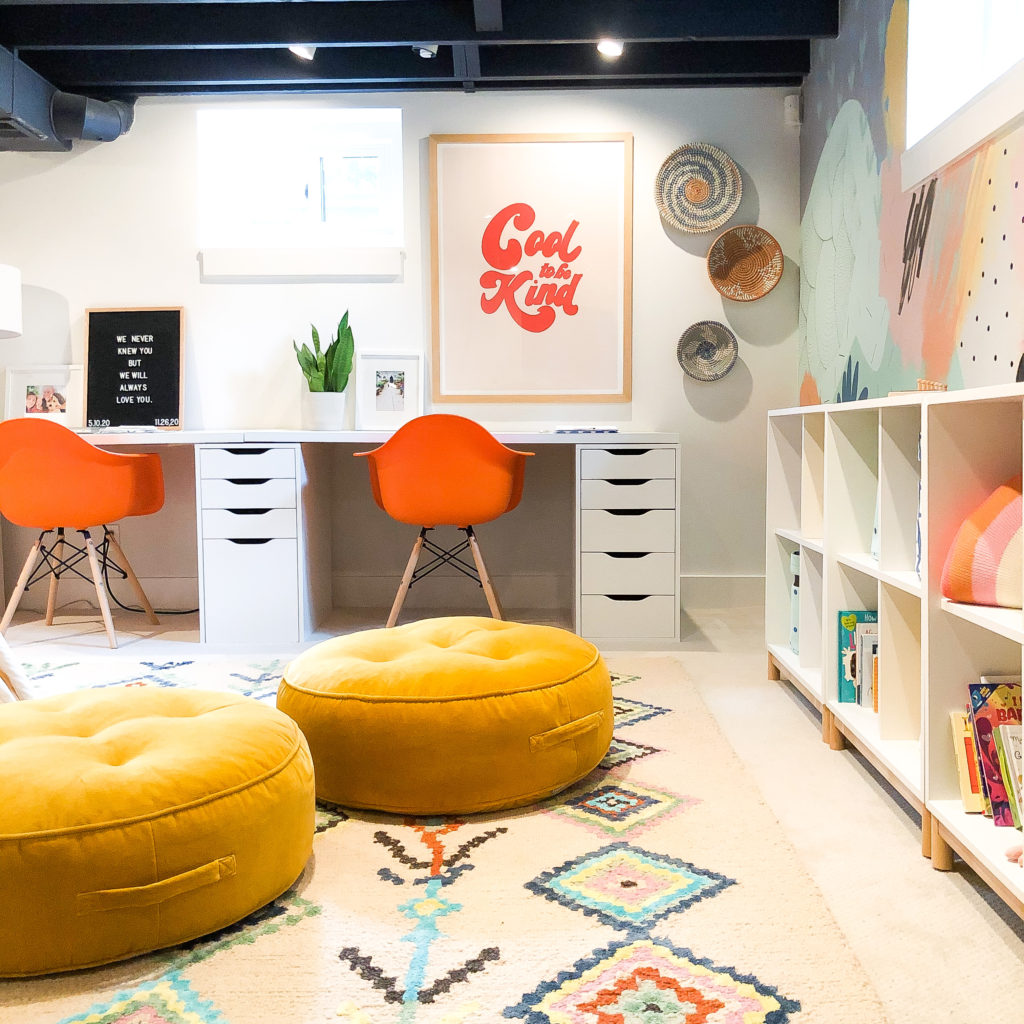
Welp, there she is!! This has been such a fun project! I am still working on finishing up the chalkboard wall. I will show y’all the other side of the room so soon!
After the mural was completed we had the carpet replaced. It was a GAME CHANGER! I shared all about replacing the carpet HERE!
Tell me – What do y’all think of the space?! Anyone planning on tackling this fun mural soon?!
Thanks for stopping by, friends!!
Jamie

How awesome is that! I love your decorating style but I don’t envy you painting all those dots……lol
It’s beautiful! I am planning on doing this in my basement playroom now 🙂 can you tell us approximately how big that wall is? Also- what type of paint did you use for the top designs (squiggles, white blocks, flowers, etc)? And what kind of chalkboard paint did you use? I hope mine turns out half this amazing!
Such a fun and beautiful space for the kids! Awesome job! I’m working on my toddler’s playroom at the moment and would love to get that exact cubby organizer. Where did you get it from?
IKEA!
I love this soooo sooo much. and now want to do it. Where did you get your floor pillows from, I have been looking everywhere for some just like that.
Omg I have searched all
Over the Internet for something like this. You did sooooo amazing!
This is the most beautiful basement I’ve ever see . So gorgeous. I see you listed an art print and wallpaper of the same mural you did. So what’s the deal with getting this design? I have a project I would love to use it for.
Beautiful job! What kind of marker did you use for the black dots and finishing touches?
I used black acrylic paint and black paint pens!
What a great space! Where did you get those white desks? Looking for something similar. Thanks!
IKEA!
Love this! Where are the two desks from?
IKEA!
So cute! What did you use for the detailing on the green large space on the left side? A stencil or free hand?
Free hand!
Beautiful! What type of chalk paint is this?
I used Sherwin Williams paint samples
This is all incredible and is now my basement reno inspo. What color is the ceiling painted? Looking for the perfect shade and this could be it. Thanks! 🙂
This is an amazing space! Love the color palette. May I ask about the IKEA white cubbies with legs? Did you add the wooden strips between each of the legs yourself?or were you able to purchase them this way? I’ve looked everywhere for these exact shelves seen on many Pinterest pins for my grandkids toy room I am creating.
Any help would be appreciated!
Thanks so much for the inspo . I just completed this in my daughter’s bedroom . It is so pretty and literally one fourth the cost of the wall paper !
Hi! I am inspired by your mural wall to do a similar one for our basement playroom. What would your tip be to pull off this large mural and complex pattern?
Hi there – Fantastic job!!! I know your base wall color is Snowbound, by Sherwin Williams what color is your ceiling? In some pics it looks grey and others blue?
I’m not sure! It was like that when we bought the house. It’s kind of a faded black
Hi! I love this so much! I’m in the middle of my creative way to finish an unfinished basement / playroom! I’ve been wanting to paint the ceiling – but felt overwhelmed. Did you paint yours? What do the wires etc look like?!? Thank you for inspiration!!
Thank you!! It was sprayed – everything painted black. It looks really nice!
Beautiful! What color are the ceiling joists painted?