We have had MAJOR shutter envy for a while now. Our neighbors added new shutters to their house and it made the world of difference. We have been wanting to replace our existing shutters with these simple updated shutters. Online and in stores – These shutters cost a small fortune. We decided to make our own – Not only did we learn a ton, we saved quite a bit of money making these ourselves!
We originally purchased treated wood – We actually built these shutters and were about to paint when we realized we forgot primer. We called Lowe’s to ensure we needed it only to learn you cannot paint treated wood for roughly 6 months because the wood has to dry out (from being treated) before painting. We learned if you are using primer, you do not necessarily need treated wood. All that to say, we went back to Lowe’s and bought untreated pine. We decided on pine because it’s less expensive and we planned to paint the wood so we did not necessarily care to go with a more aesthetically pleasing wood.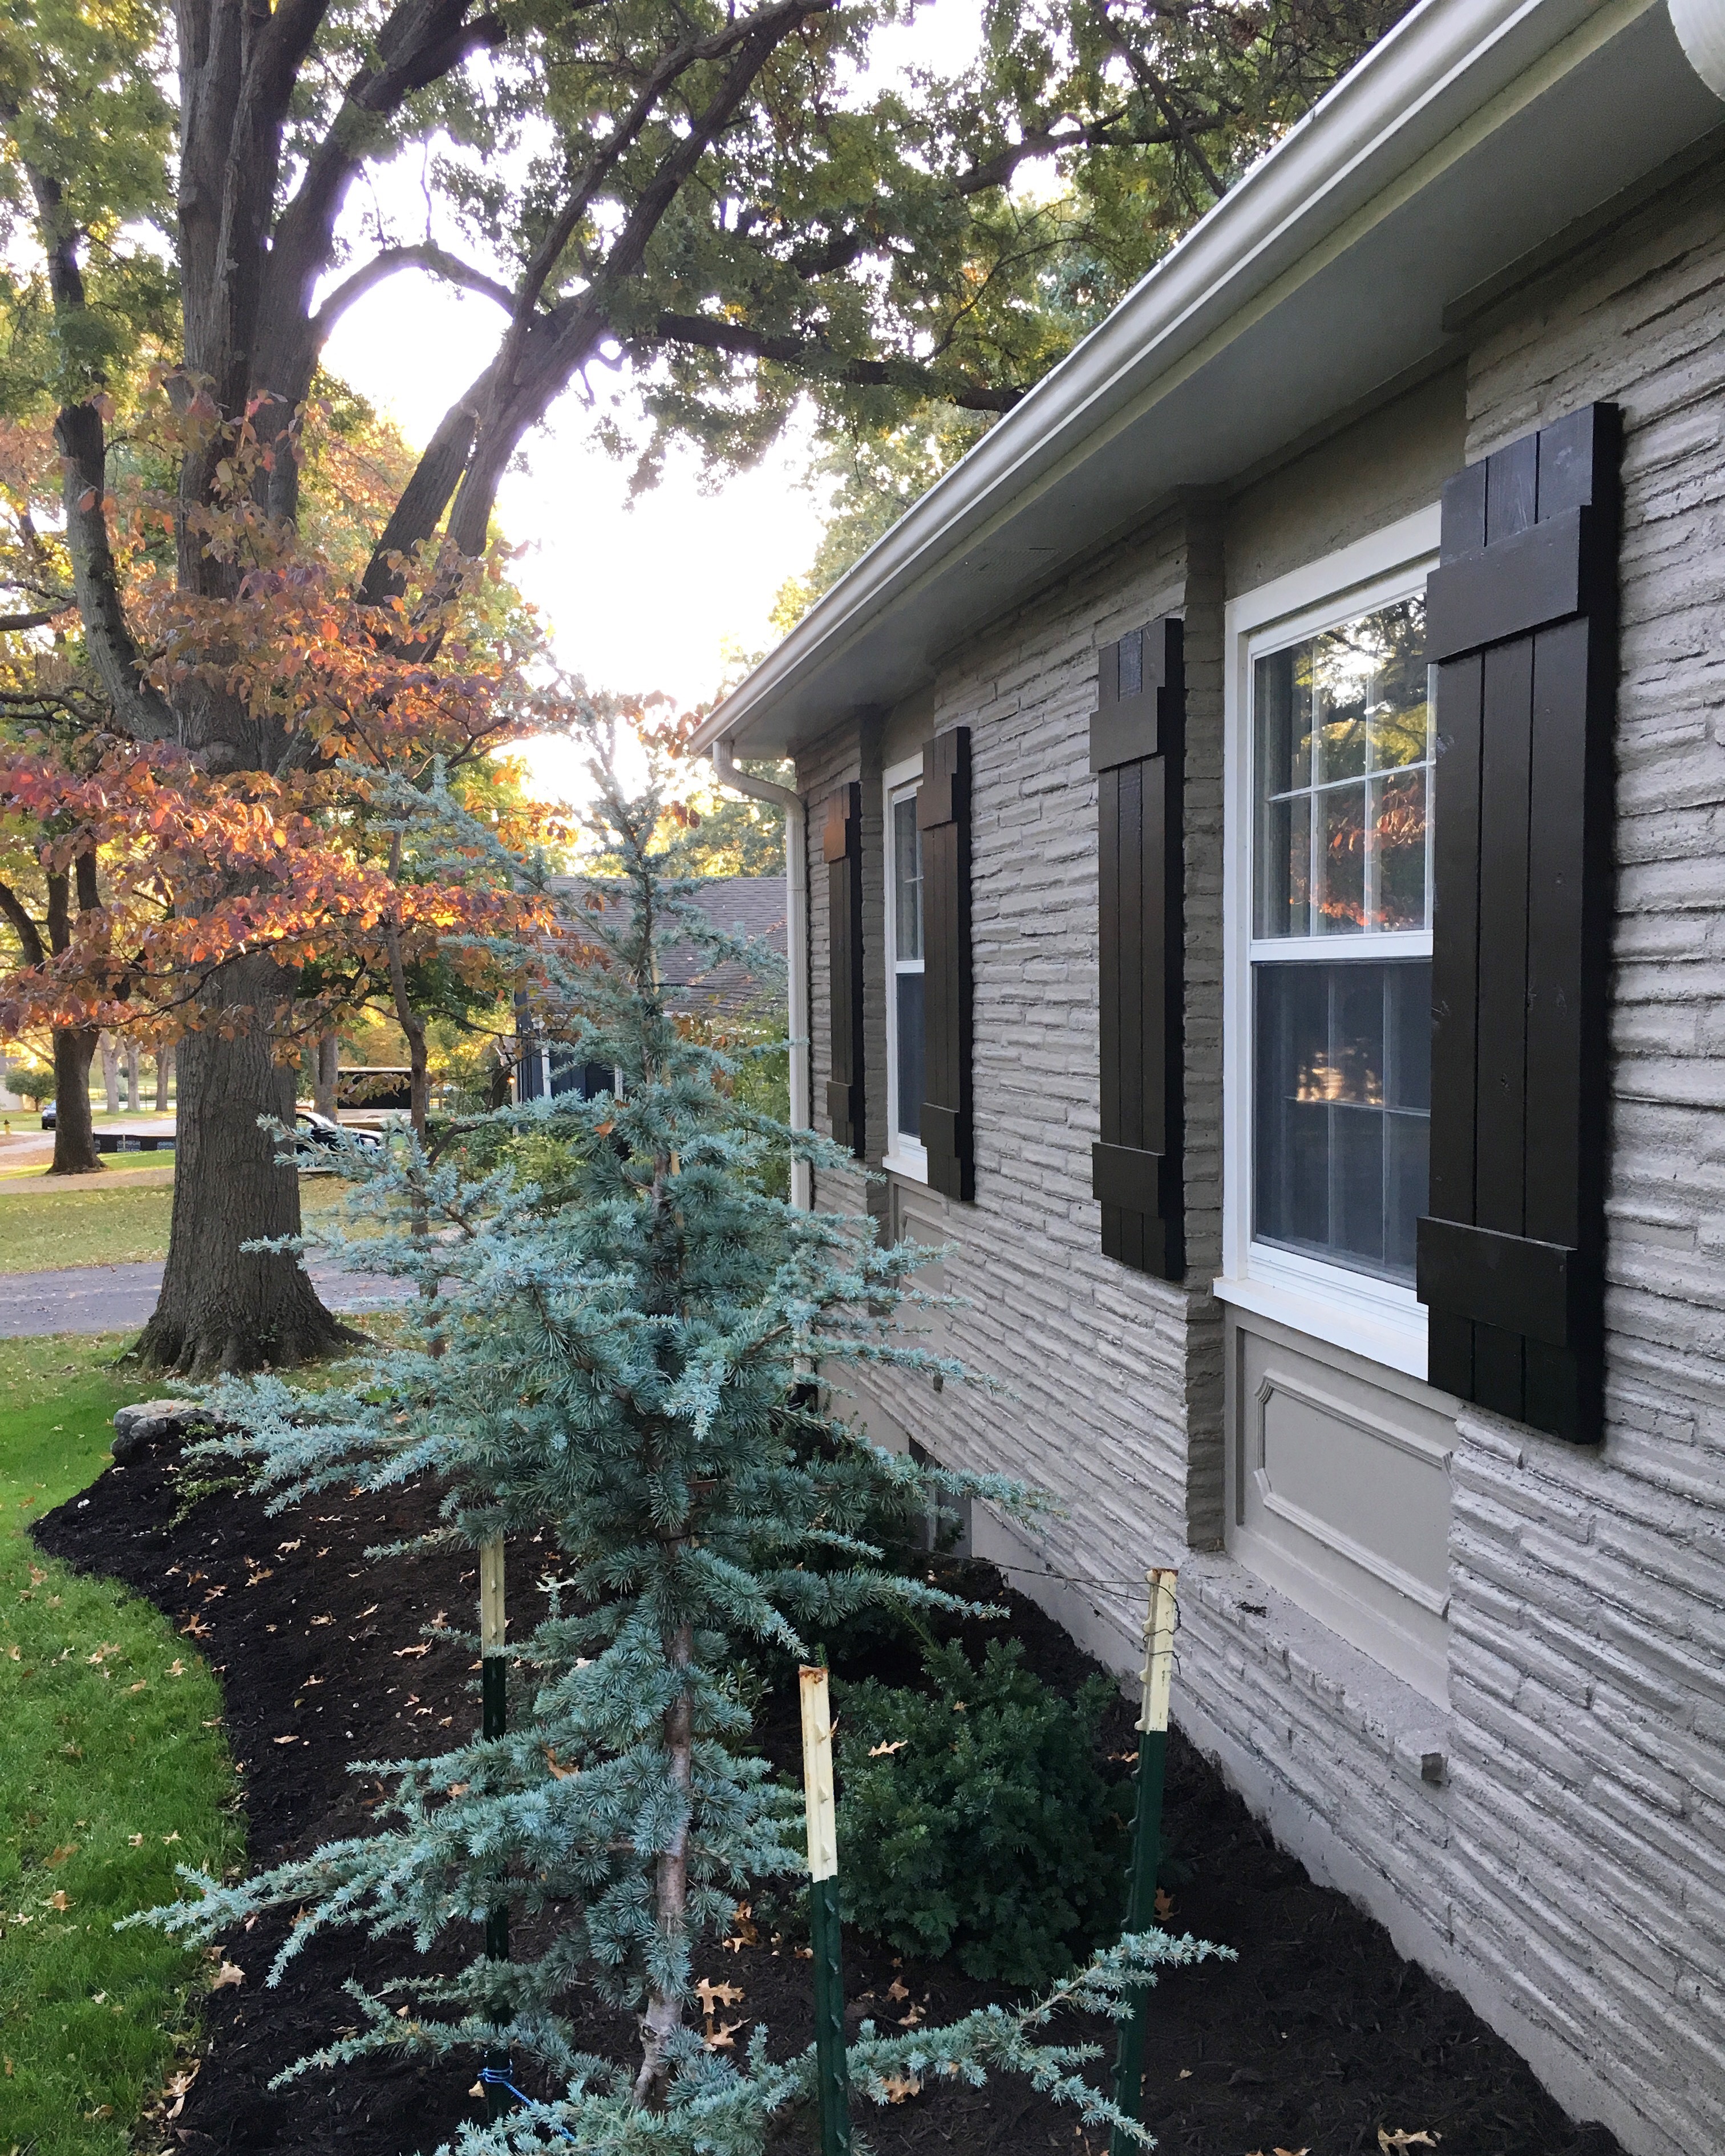
There are definitely more than one way to construct and hang shutters – I am simply sharing how we did it!
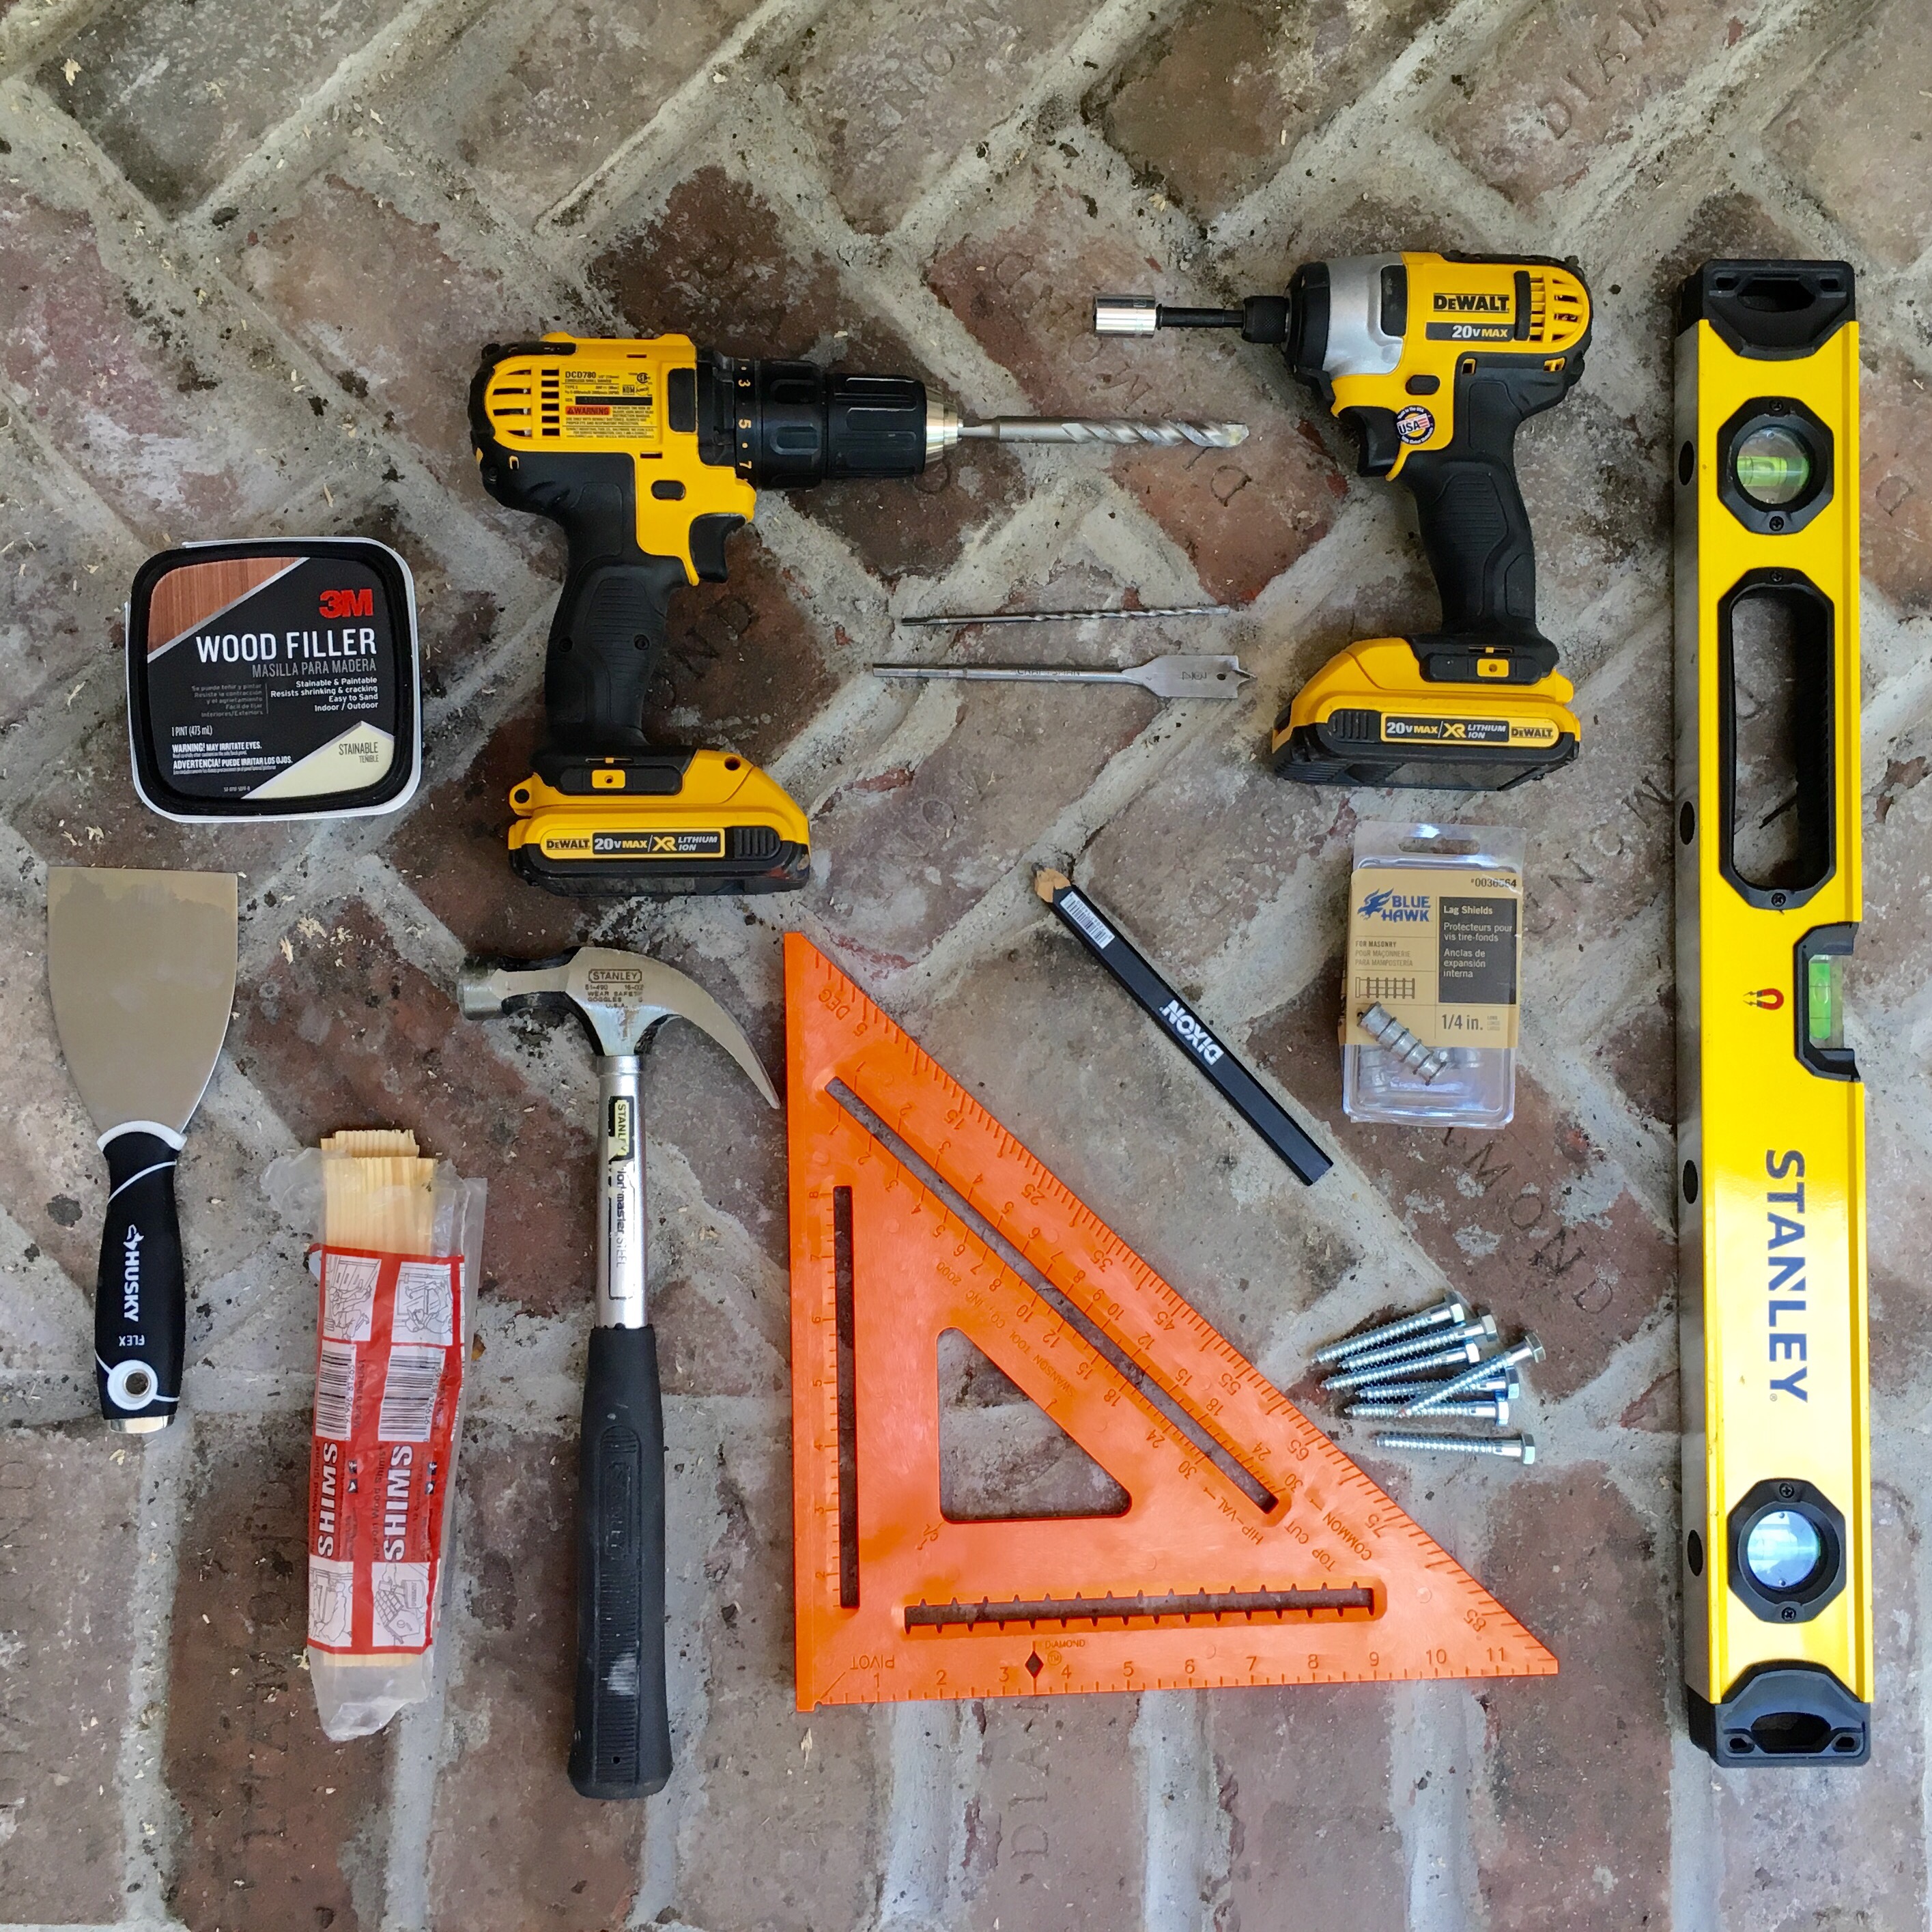
Supplies needed to build shutters:
- Untreated Pine (we used 1.5 inch thick pine wood for the backboards and 3/4 inch thick pine for the cross board)
- 2 inch Wood Screws
- Wood glue
- Spacers
- Primer (optional)
- Paint (optional) – We painted ours Sherwin Williams, Tricorn Black in a satin finish.
- Drill
Supplies needed to hang shutters from mortar:
- 1/2 inch Masonry Drillbit
- 1/2 inch Bolt, 2.5 inch long
- Ratchet Set
- 1/4 in. Lag shields
- Wood Filler
- 3/4 inch Paddle Bit
- Level
- Right Angle
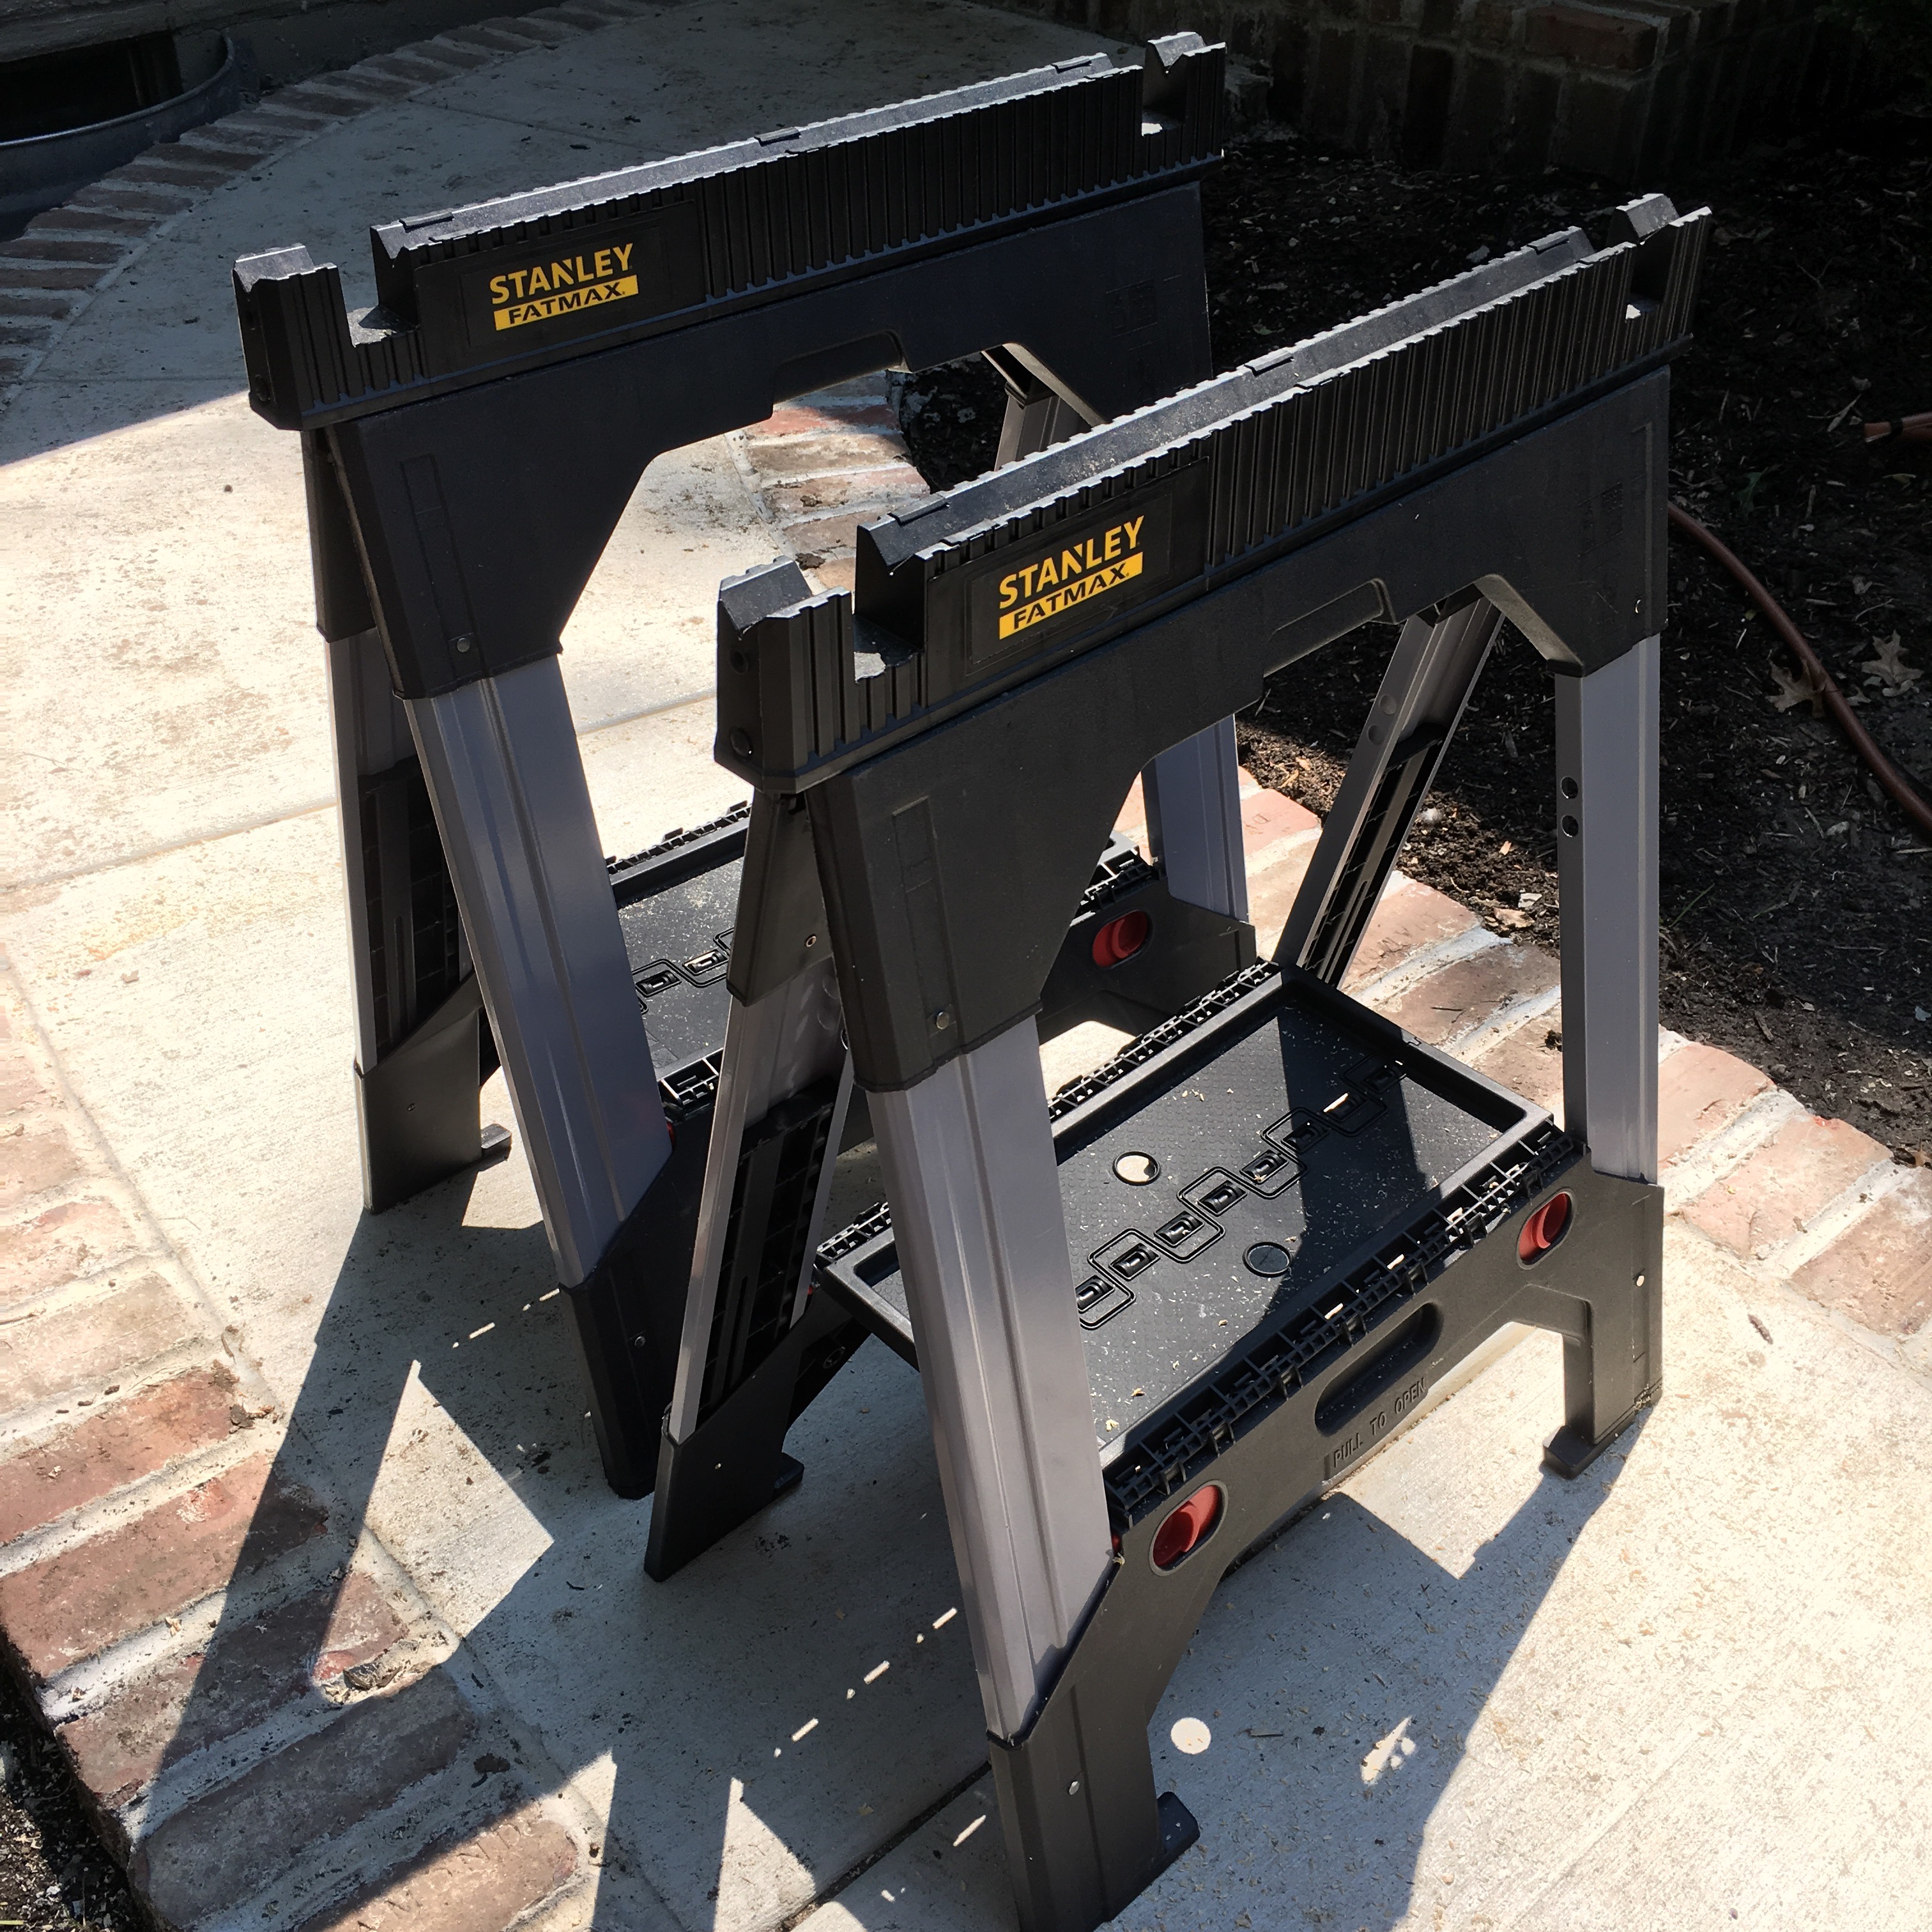
- Saw Horse (2)
- Wood Shims (Optional)
- Hammer (Optional)
How to build exterior shutters:
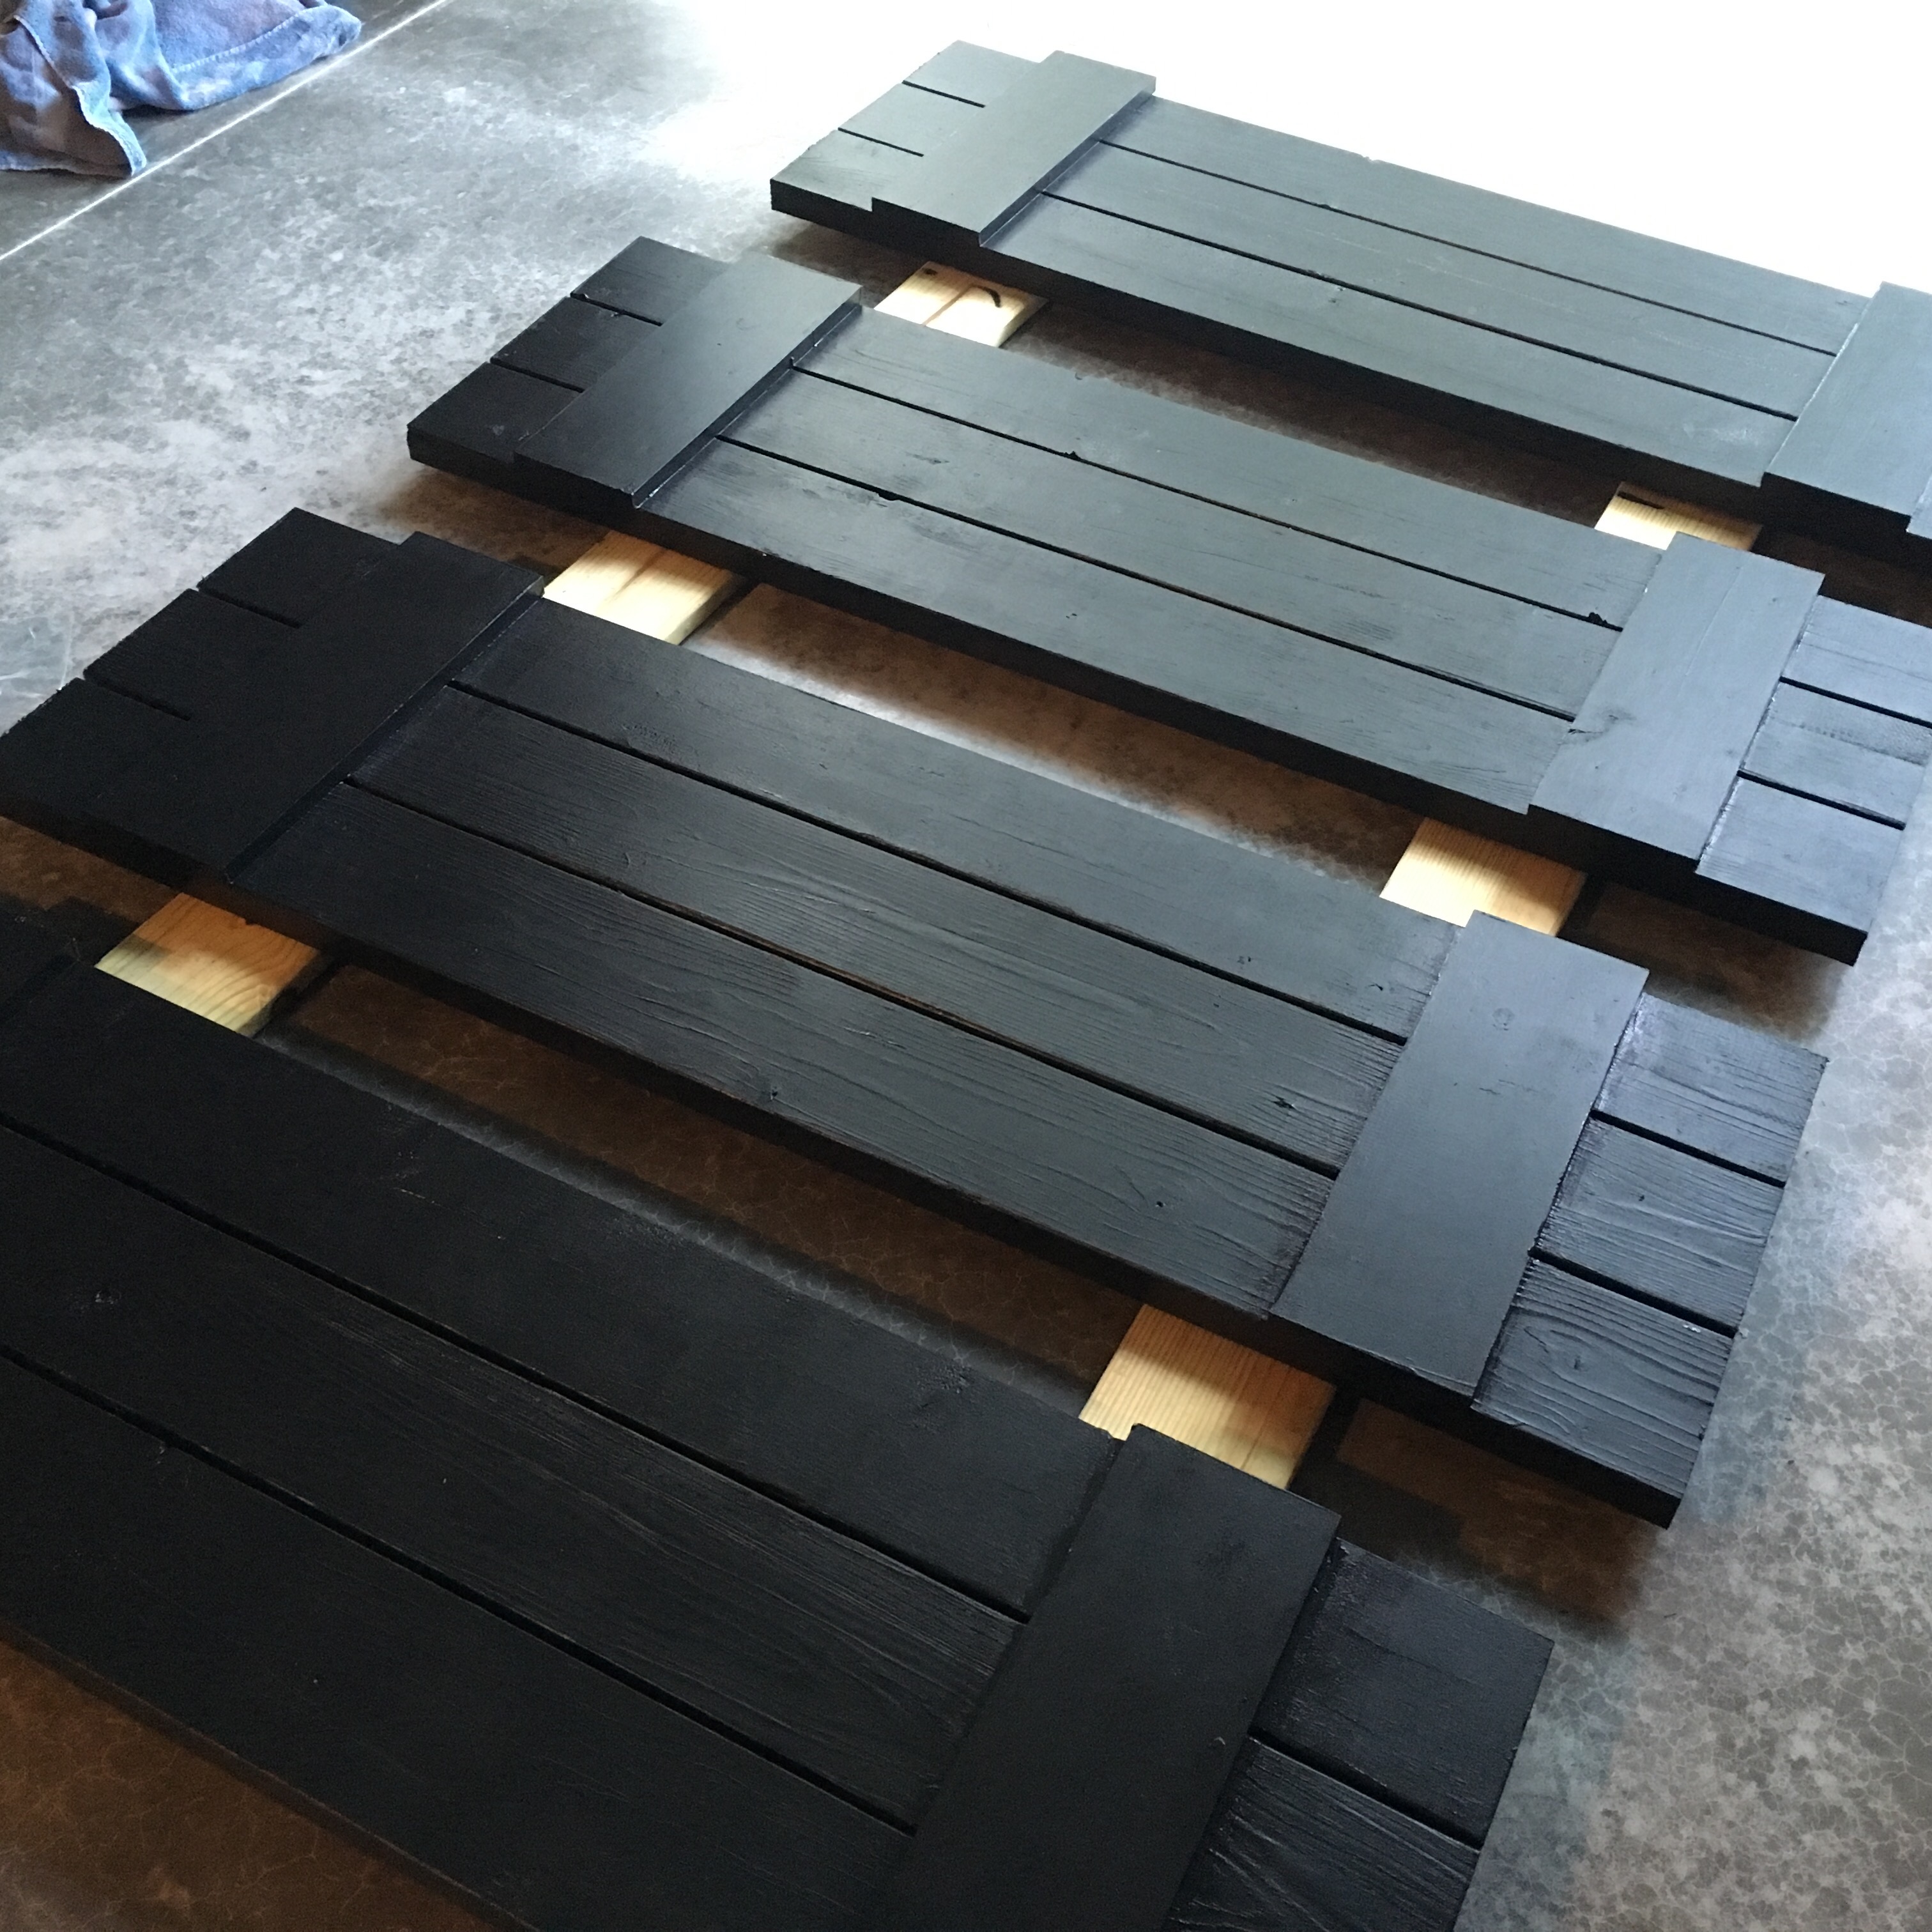
1. Begin by determine the length of your shutters. We drove around and looked at a ton of examples before deciding on a length. We noticed most shutters cover just the windows – Meaning, the shutter does not go from the top of the trim to the bottom of the trim. We determined from the top of the trim to the bottom was 60 inches and the trim is about 1.5 in. We then ripped the pine boards to 57 inches.
2. Determine the length of the cross board. This next part is entirely up to you! The space between each board is a personal preference. We used tile spacers between the boards and were then able to determine the length of the cross board. We cut the cross boards at 17.25 inches long.
3. OPTIONAL – Prime and paint the edges of the boards prior to putting the shutters together. We primed the edges before and did not also paint them and later regretted it. It’s much easier to paint the sides now than after you’ve put them together.
4. Apply wood glue to the back of the cross board and drill two wood screws through the cross board into each back board (i.e. Six wood screws per cross board). We then used wood puddy to cover the wood screws, sanded, and later painted.
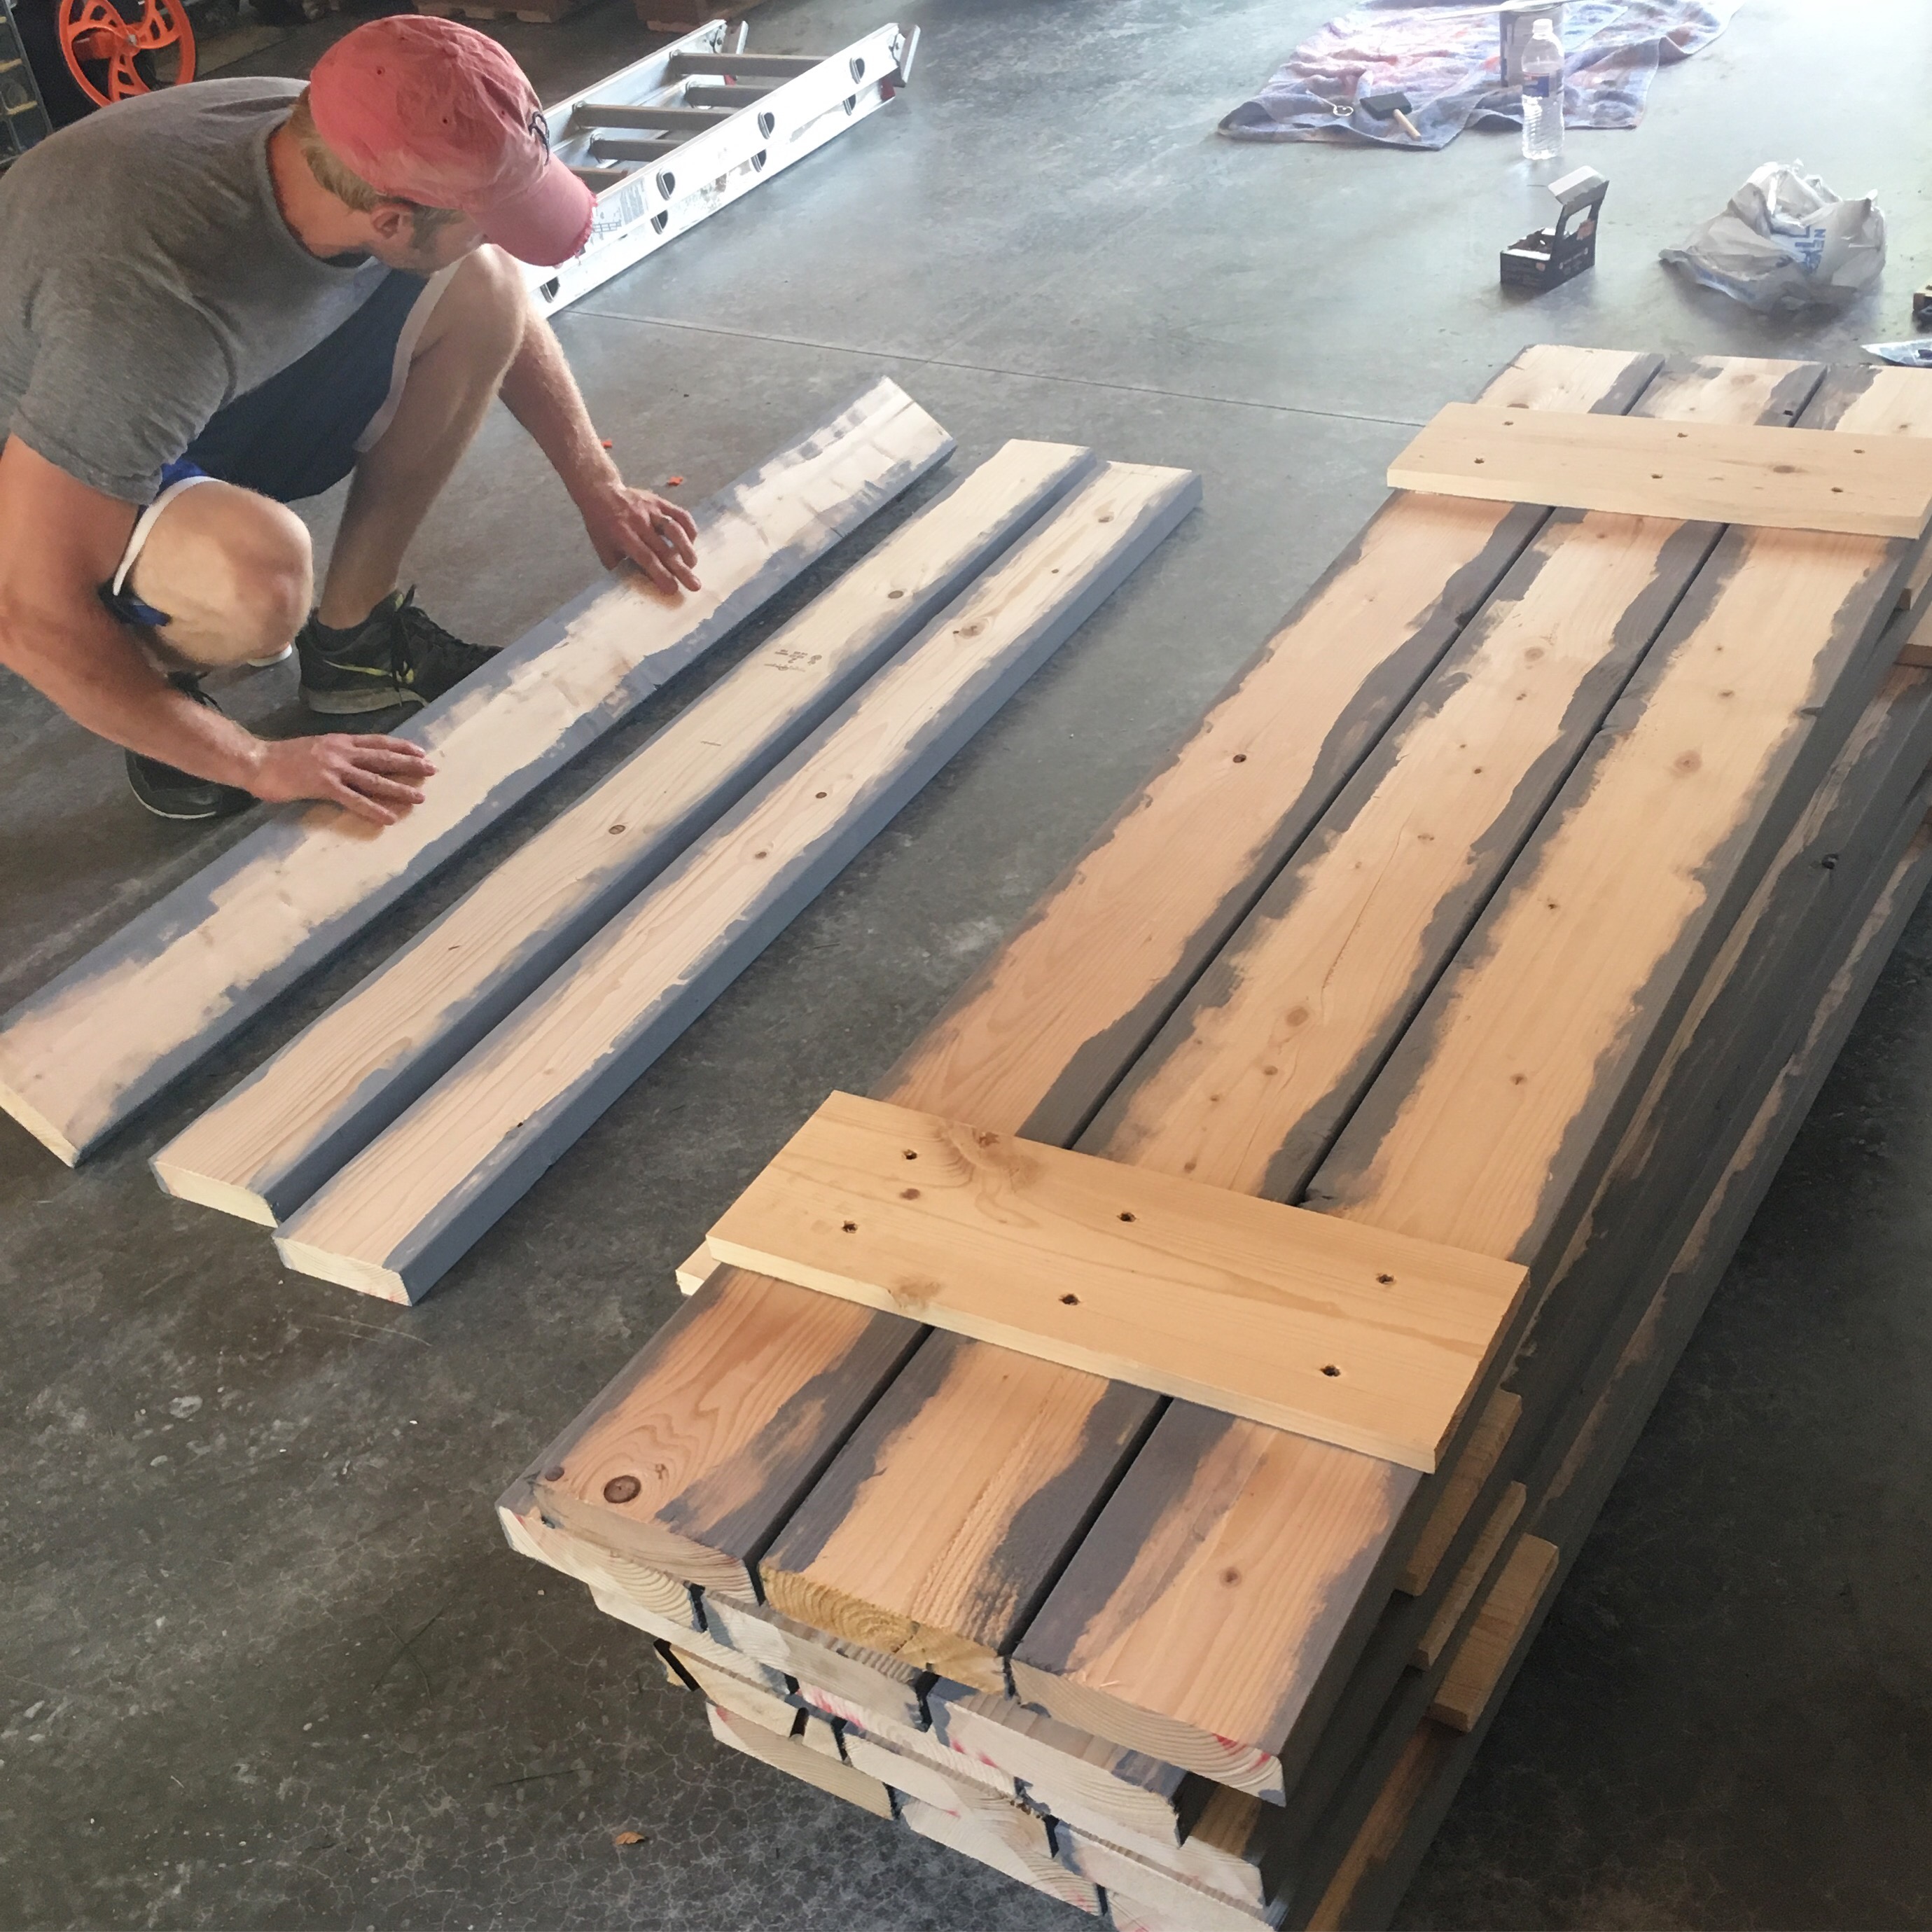
5. Finish priming and painting the boards. Lowe’s will apply tint to primer for free – We had them tint our primer a dark gray so we did not have to apply as many coats of black paint. Allow paint to dry 48 hours before hanging shutters. TIP – If you are expecting rain or high humidity, move shutters indoors to dry. We made the mistake of leaving them in the garage with high humidity and they felt sticky even after drying several days. We moved them inside to dry one night and the problem was solved.
How-to hang shutters:
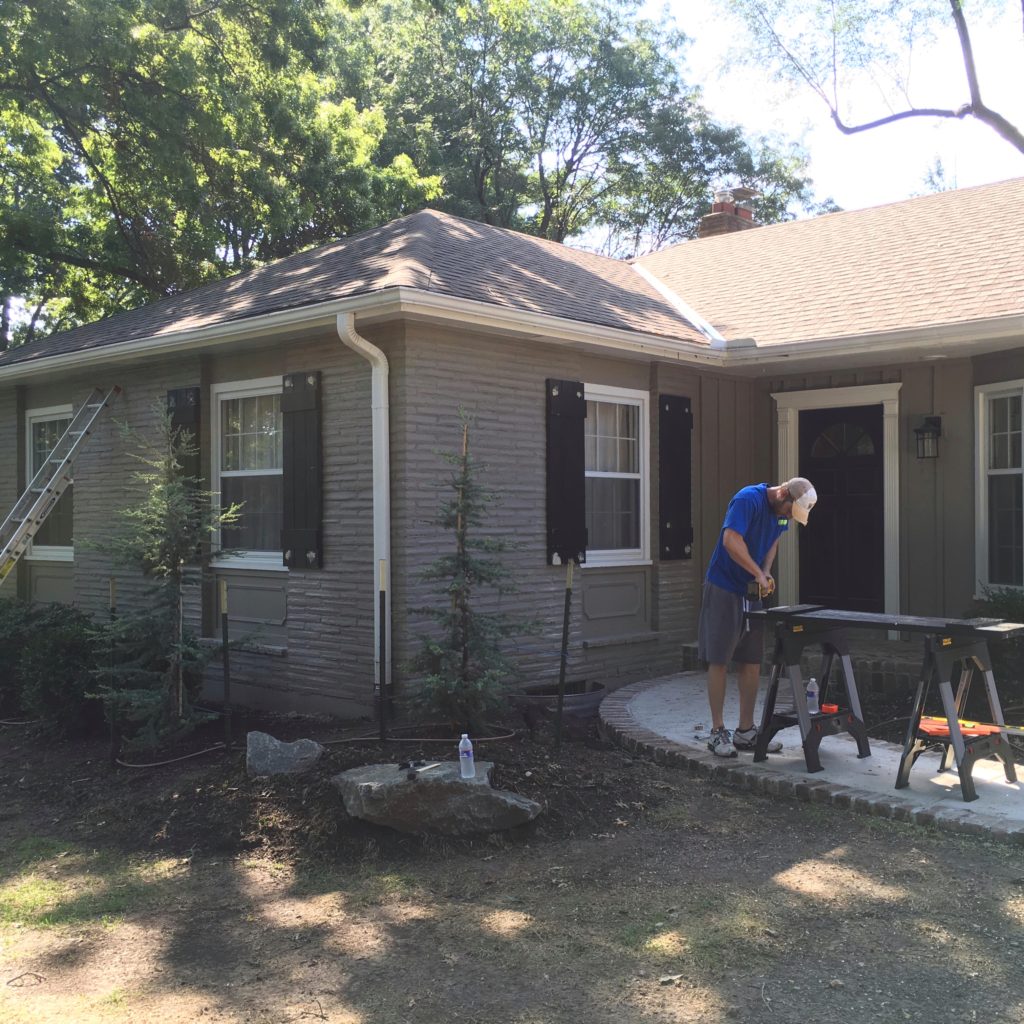
Let me start by saying – This is a two person job! We learned so much, messed up (more than once), and are writing this in hopes that you won’t make the same mistakes! There are definitely more than one way to hang shutters – I am simply sharing how we chose to do it.
1. Place shutter against the wall to determine the placement. Place the level along the top and the sides to ensure the shutter is straight. Mark on the side of the shutter exactly where the mortar is (always anchor into mortar, never brick) – Do this on all four corners of the shutter, on the outer most board (on the outside of the cross board).
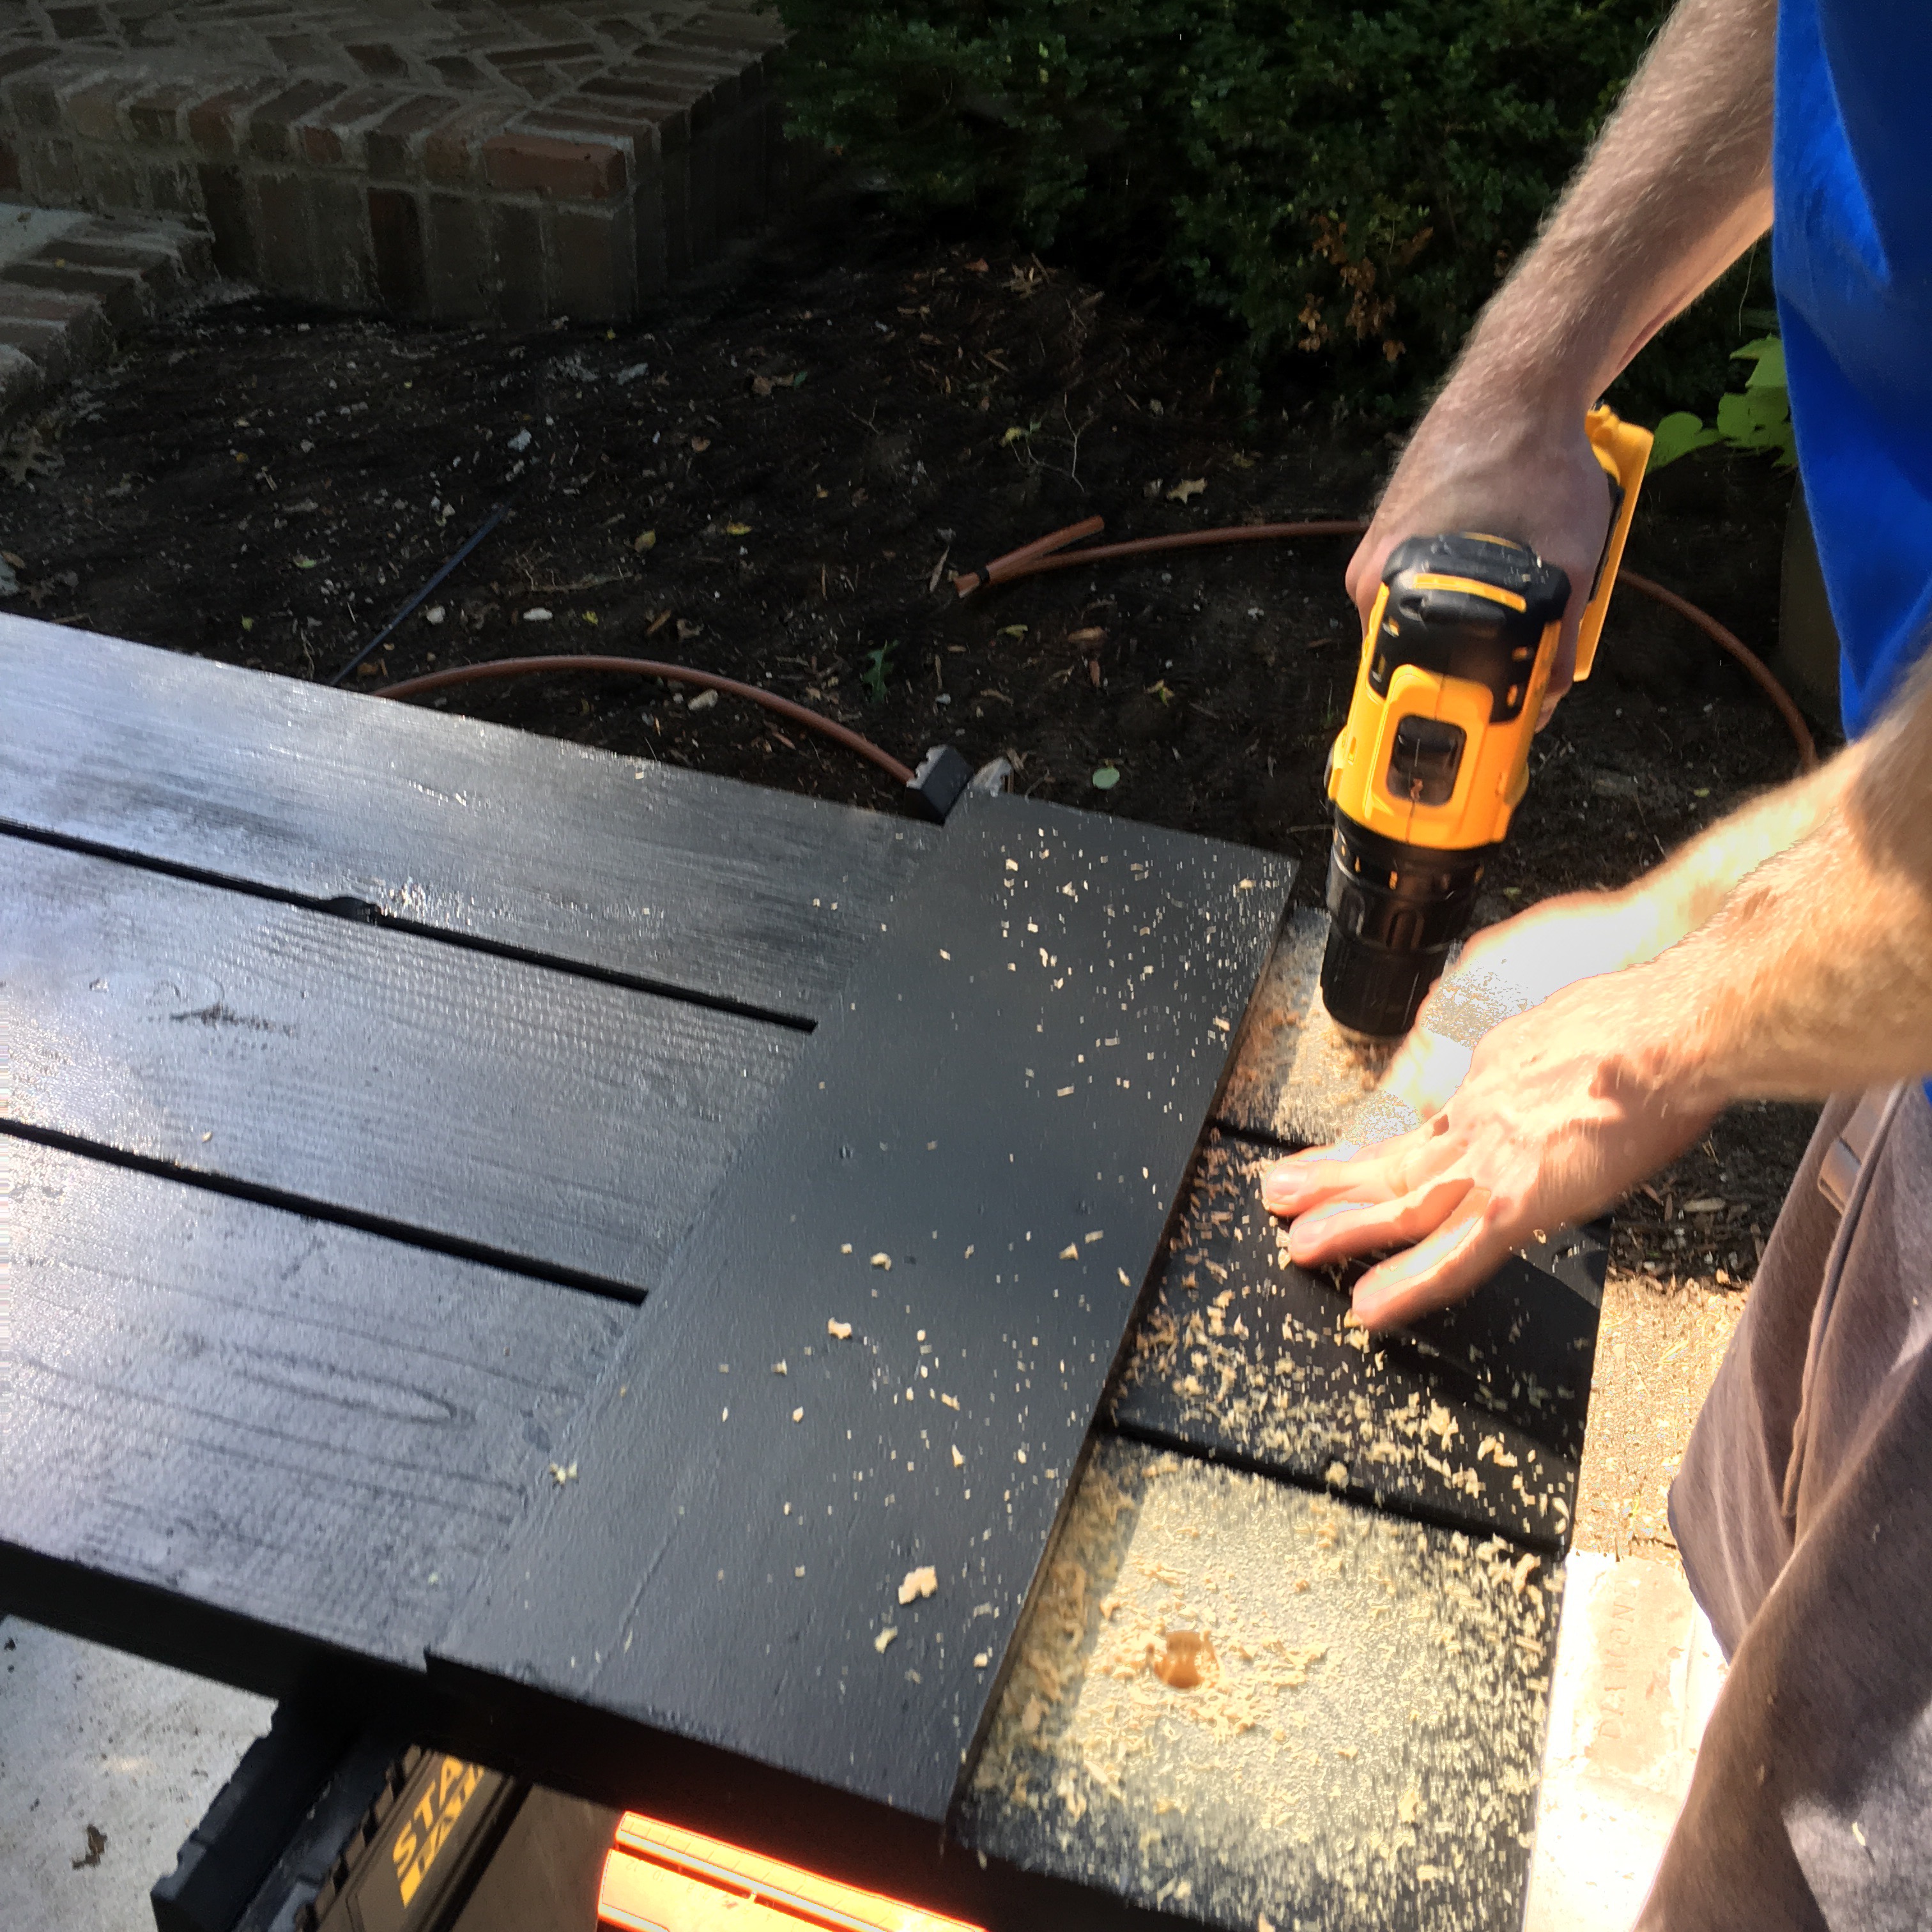
2. Place shutter on the saw horses. Place the right angle on your mark, to give you a straight edge across your shutter. With a pencil, draw a line, remove the right angle and make a mark in the center of each outer board (you will soon drill through). Using a 3/8 drill bit, drill into the center of your mark, completely through the board. Next, use a 3/4 inch paddle bit to drill 1/3 of the way into the board where you previously drilled through. This is to counter sink the bolts, which will later be covered with wood putty. For those who don’t know what countersinking is, I recently learned. Countersink: Enlarge and bevel the rim of (a drilled hole) so that a screw, nail, or bolt can be inserted flush with the surface.
3. While one person is holding the shutter back up against the wall, another needs to ensure the shutter is level and in place. Next, using a 1/4 inch drill bit, place the bit inside the previously drilled holes to lightly mark exactly where on the mortar you plan to drill. Remove shutter and use 1/4 inch masonry drill bit to drill into the mortar where marked.
4. After drilling into the mortar, place the lag shield into the hole. TIP: The lag shield should feel tight. We used a wood shim and hammer to fill any space by hammering in a piece of a wood shim to eliminate any gap and secure the shield.
5. Place shutter back against the wall. Using the proper size socket, screw in the 2.5 inch bolt through the shutter and into the lag shield. The shutter should feel tight against the wall, and the bolt countersunk into the board. Do this on all four corners for each shutter.
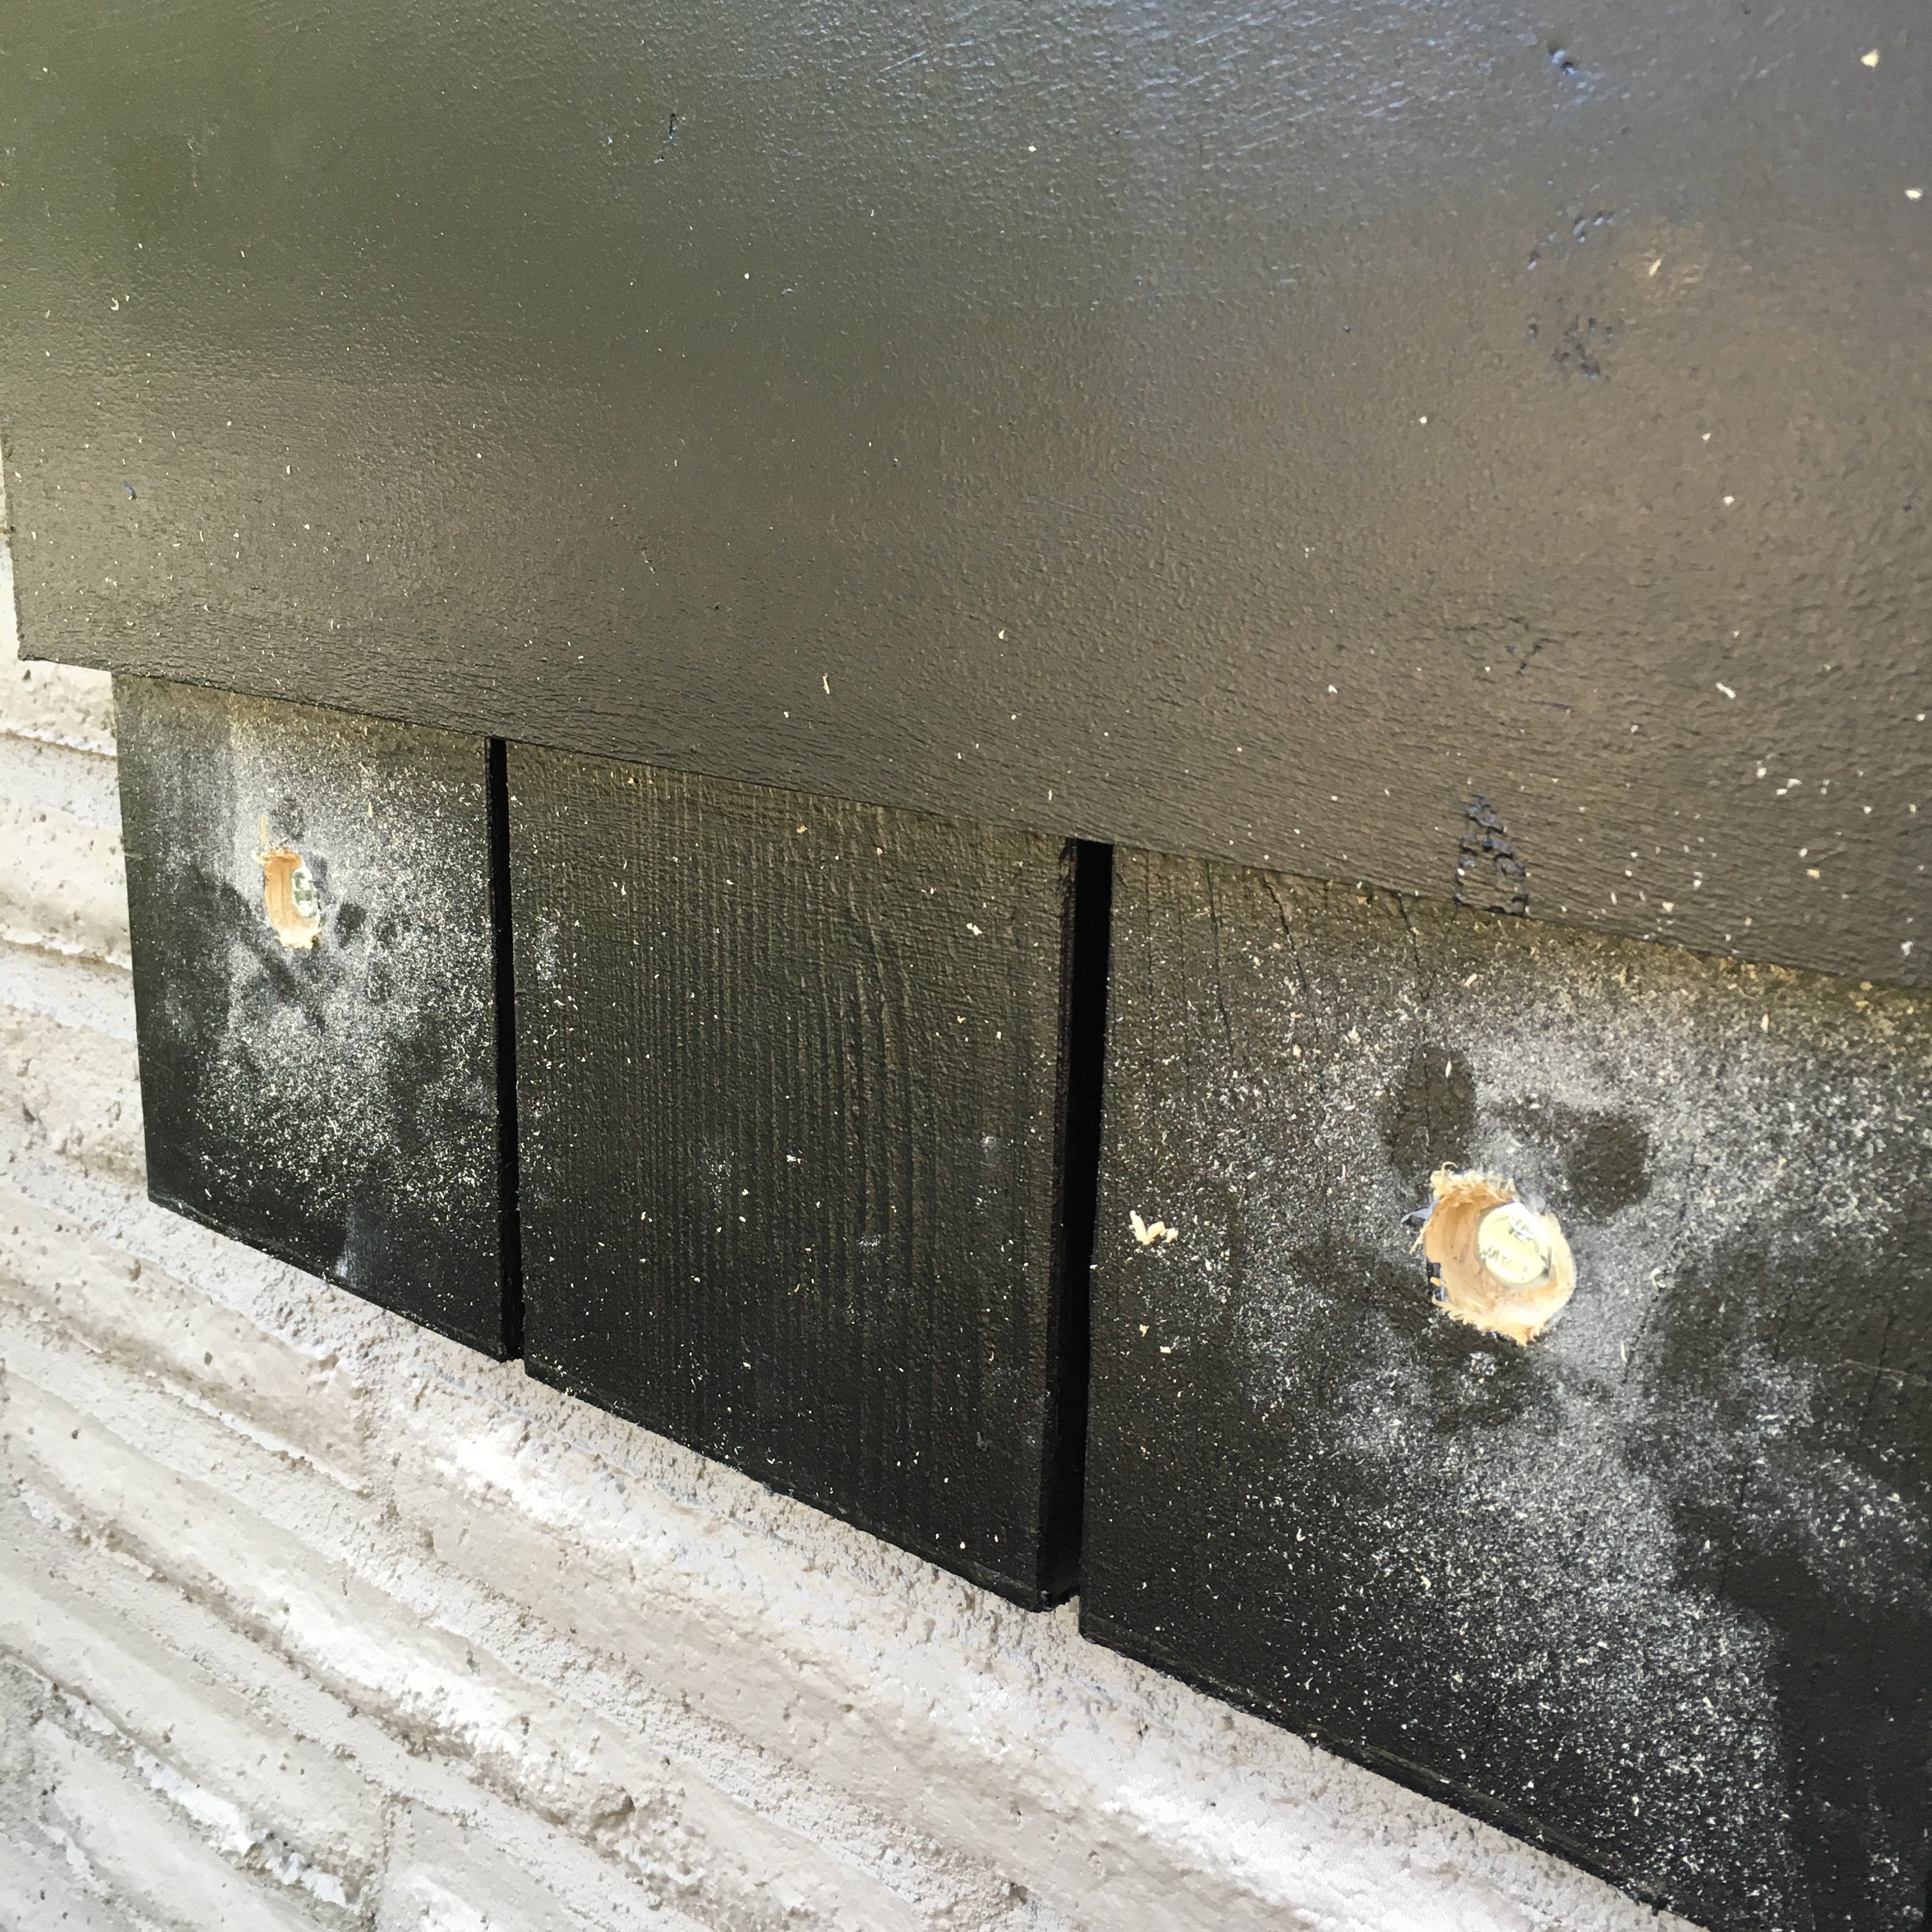
6. After shutters have been hung, use wood filler to cover the bolt. Allow 24 to 48 hours to dry, sand and paint.
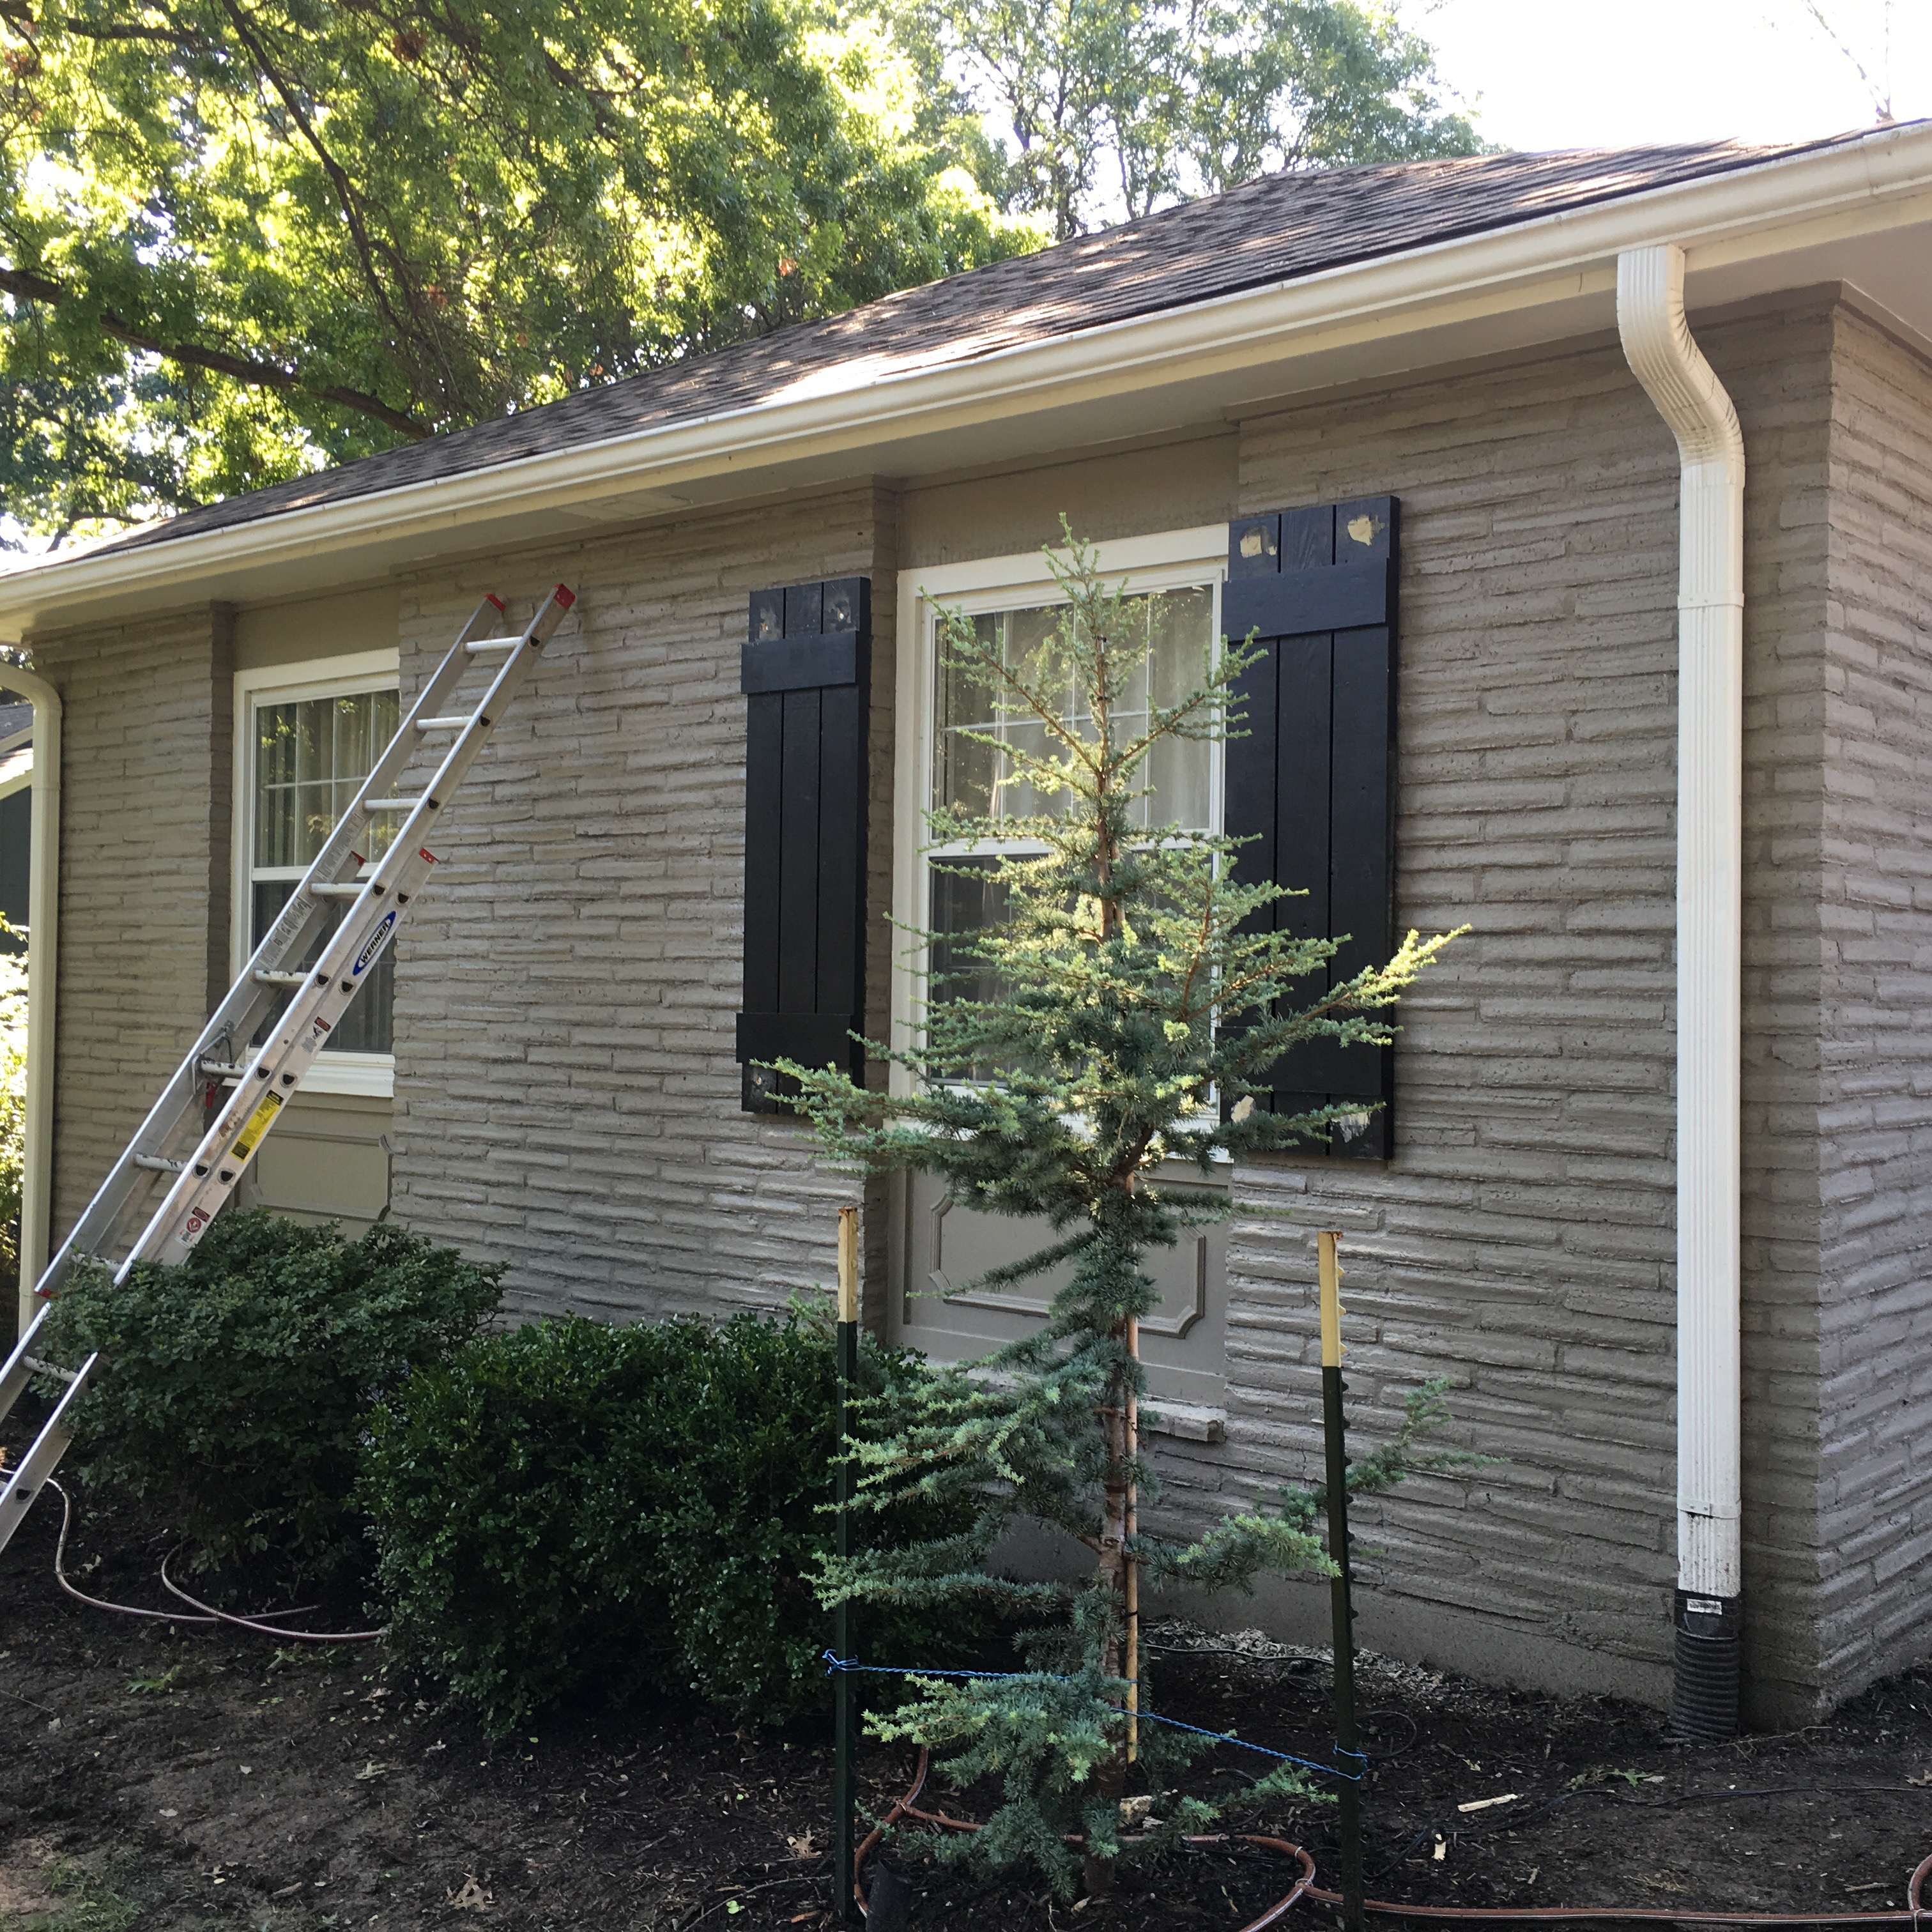
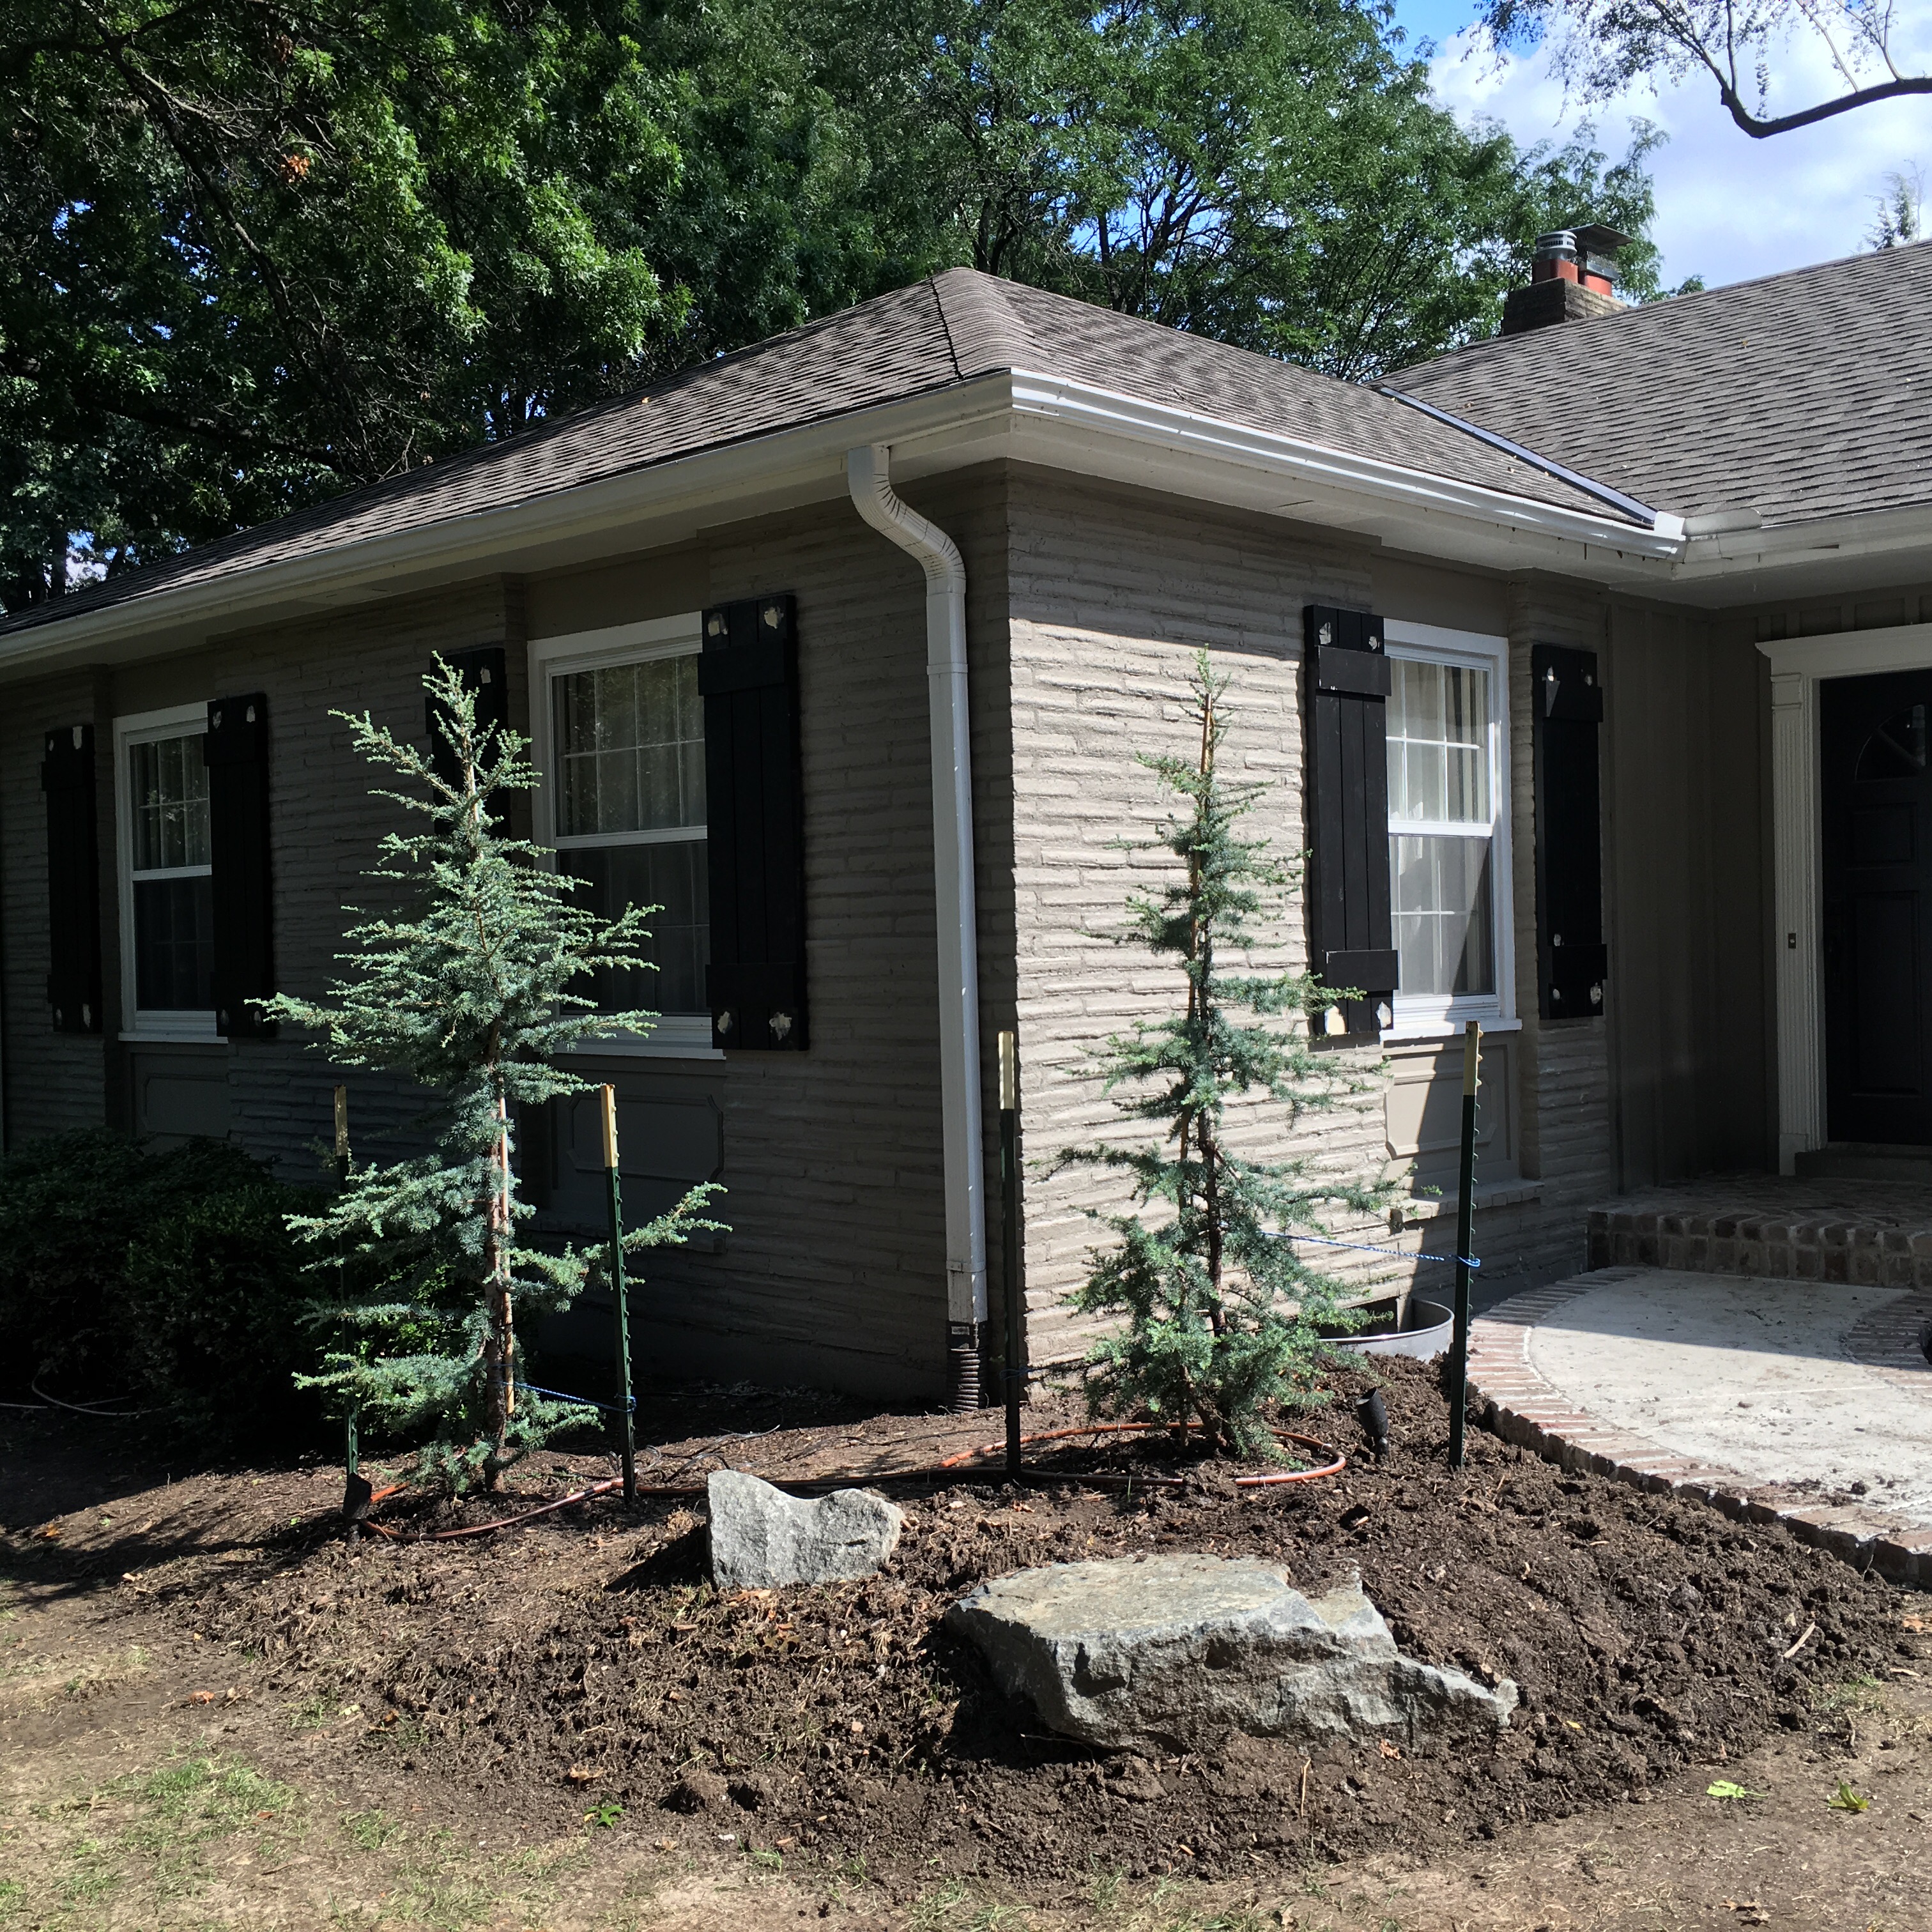
There you have it! You did it! These shutters aren’t going ANYWHERE!!
See pics of our finished product below!
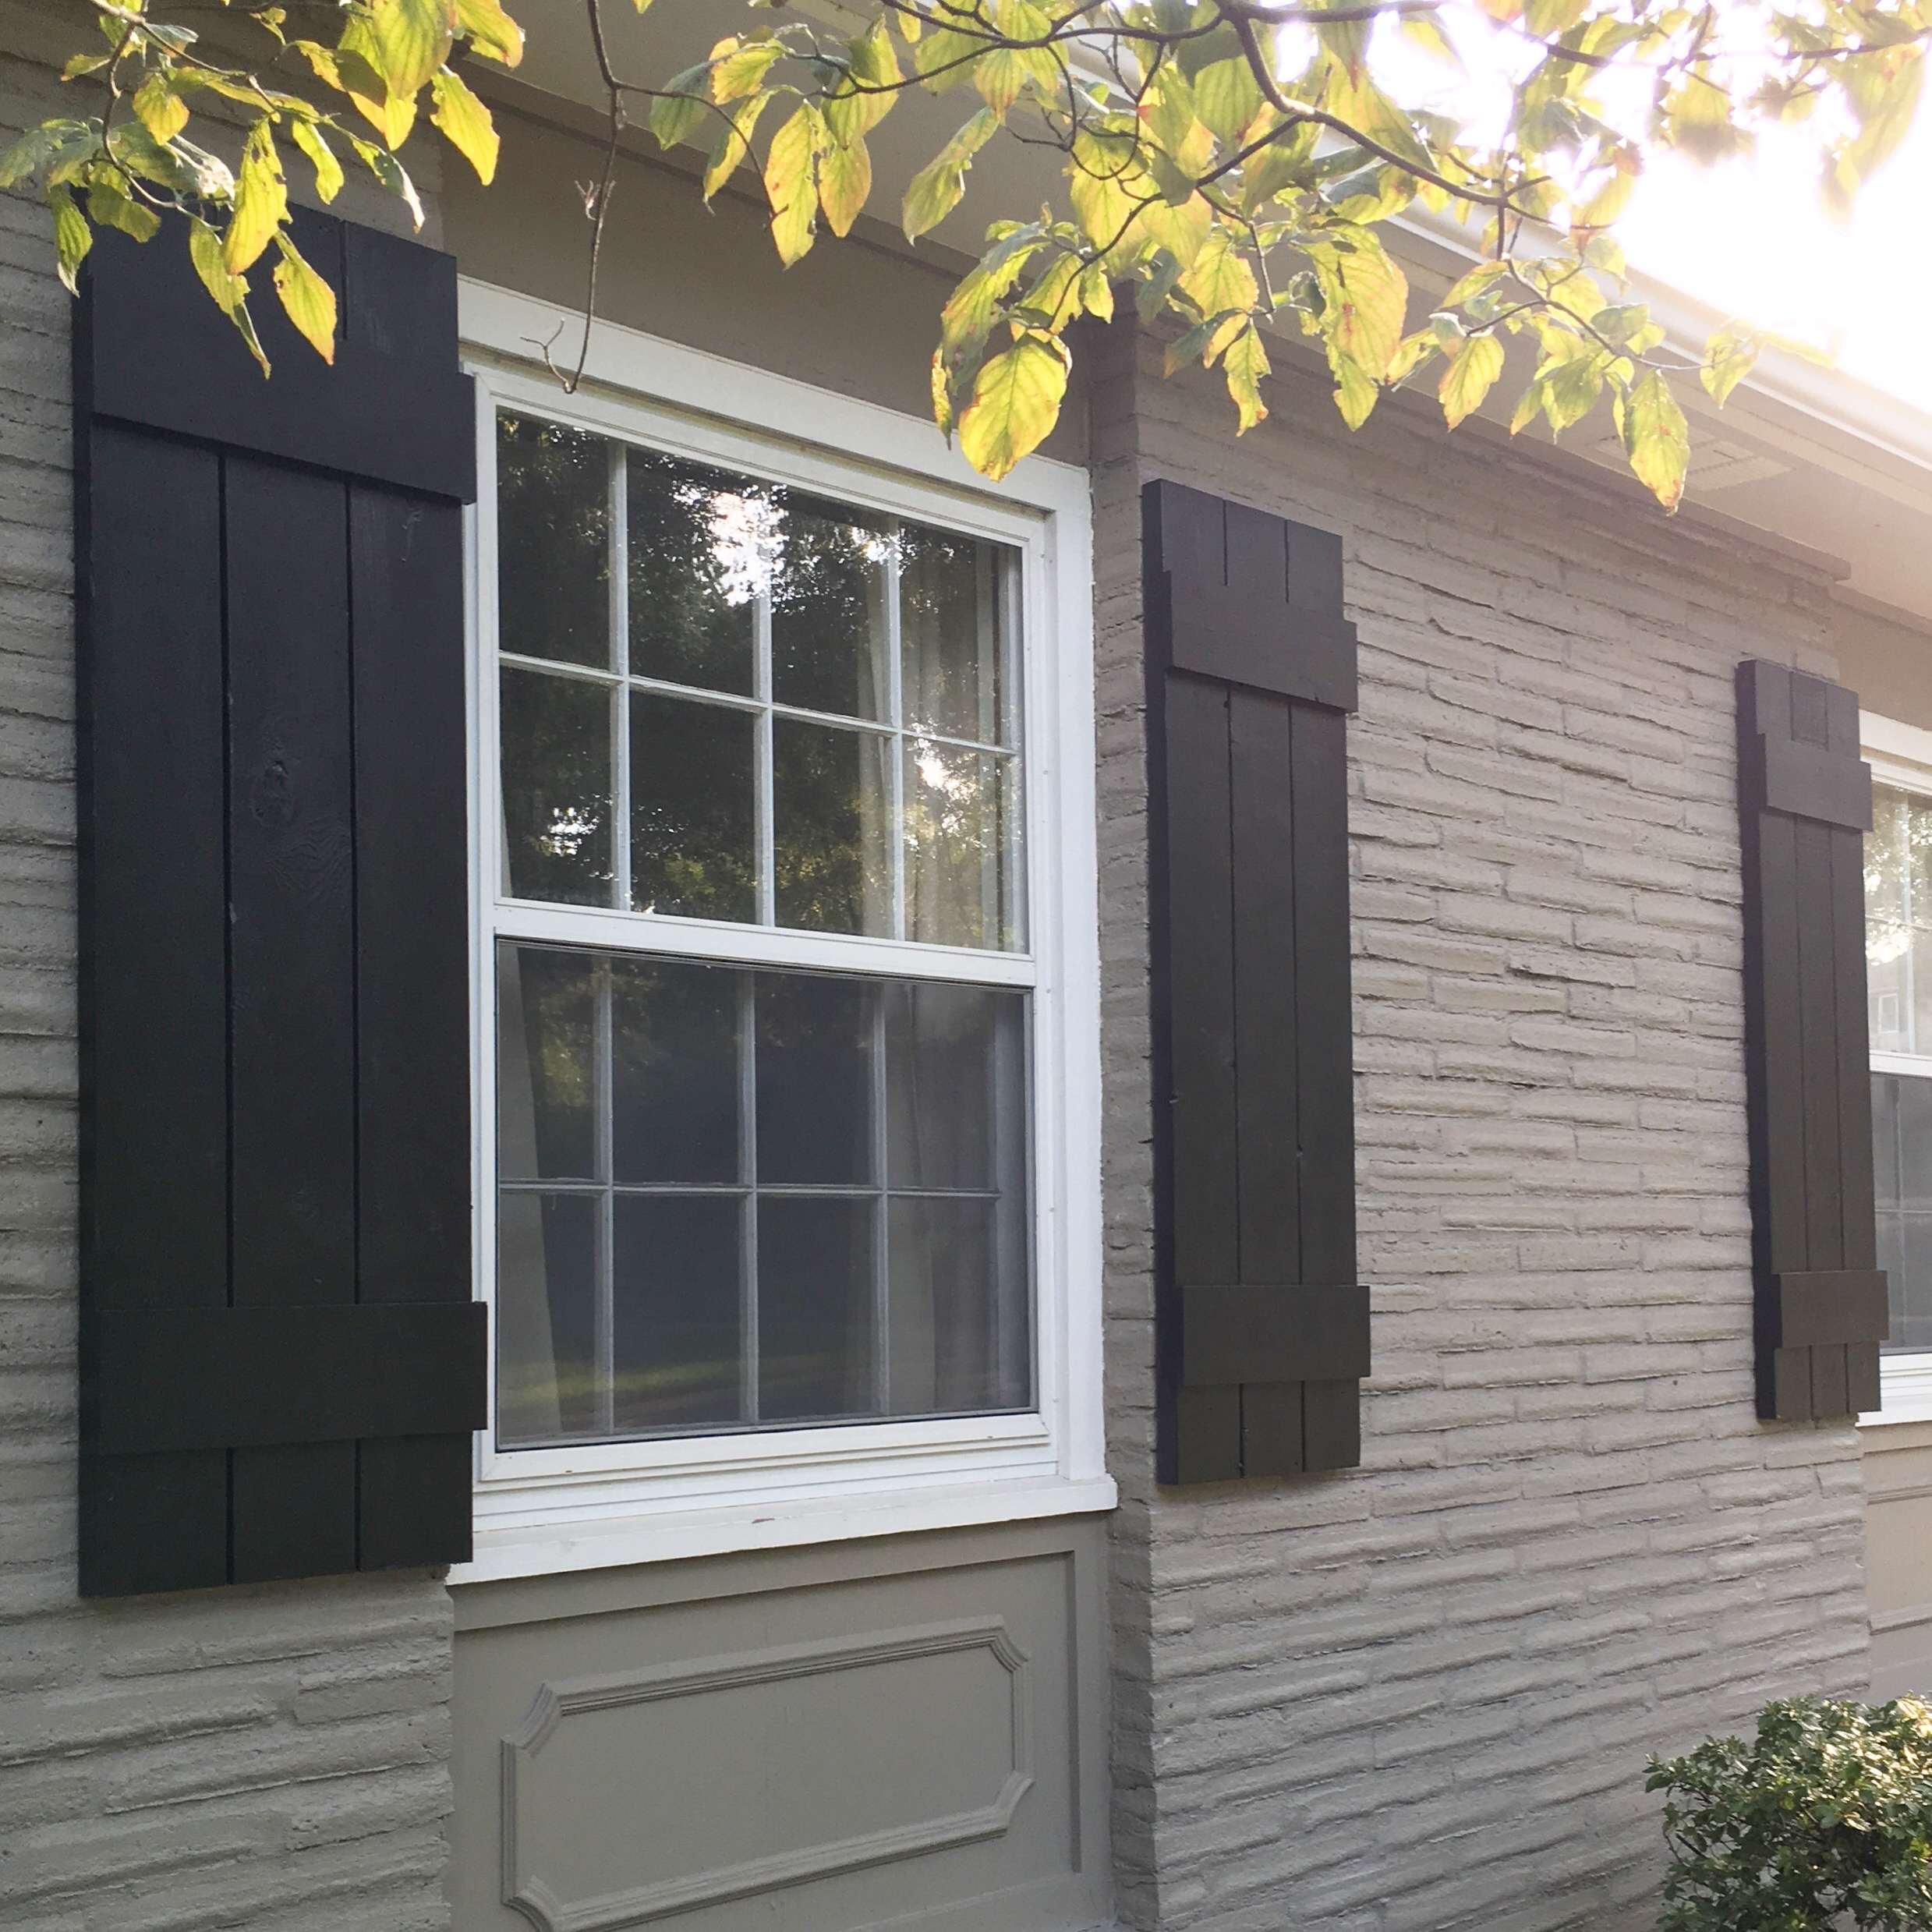
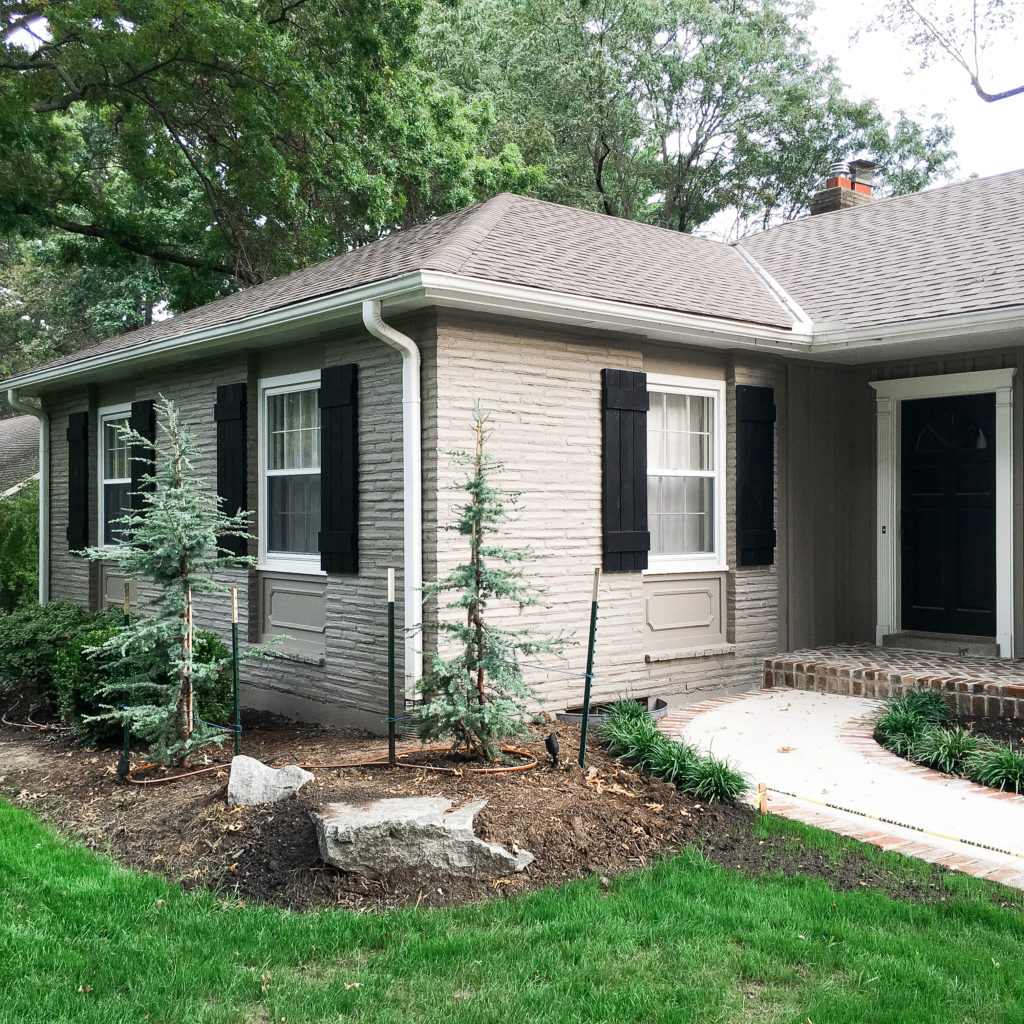
Thank you for stopping by – Feel free to comment with any questions! 🙂
This is a great project, so well explained. We made window boxes, but I feel shutters would go well with them. You make it look easy. May be heading to Home Depot tomorrow.
Thank you so much! Good luck with the shutters! 🙂
thanks so much for step by step shuttermaking we ars building a new country home. these new shutters will do a great job
Beautiful!
You state in the materials needed that a 1/2 inch masonry bit and 1/2 inch lag shields are required. However later in the instructions you use a 1/4 inch masonry bit to drill into mortar. Did I read that right?
Hi!! Love the shutters!! I plan on doing my own very soon.
My question is, now that it’s been some years, have your shutters faded from the sun at all? Have you had to repaint?
Thanks
Many thanks for the very fine discussion on how to build exterior shutters. I am glad that you shared your ideas somehow it would help to someone who’s interesting with this thing.
Hi! These are incredible! What was the cost of these versus buying shutters?
Do you know what the area below the windows that are wood with trim detail is actually called?
I’d like to know as well! They look great. 🙂
Thank you! I am not sure what it’s called – That piece is true to our home. I’ve seen this trim work on lots of older homes.
I would like to know the difference in the cost of buying premade and building your own.
That, I do not know. This post was done years ago so I’m sure the price of material has changed drastically since then.
Thank you! I am not sure what it’s called – That piece is true to our home. I’ve seen this trim work on lots of older homes.
Maybe an exterior “Wainscoting”?
These shutters are a nice change from the boring flat ones you buy already made! Very eye catching and compliment the house very nicely. I’d love to know what the colors of your house are painted? Looking to update my paint and add shutters as well.
fab
Great idea for share DIY outdoor shutters. Thanks.
What color paint is the house itself paired in? I like it.
Sorry, painted in.
If you need to repaint or want to replace shutter how do you undo covering the bolts?
Great project and very well done! Thank you for sharing.
thanks for the article! i cannot tell from the photos – did you use 2 x 6s for the long boards or 2 x 4s? and the same for the cross boards – 1 x 6s or 1 x 4s? thank you for your help! can’t wait to make these! Meredith
Statement 6. After shutters have been hung, use wood filler to cover the bolt. Allow 24 to 48 hours to dry, sand and paint.
Question: By using wood filler to cover bolt, how will you remove the wood filler if you want or need to remove the shutters?
BTW, this is a great explanation of how to build and install these great looking shutters.
I am in the process of building shutters and using your guidelines. Thank you.
Hi Tom! Thank you for the positive feedback! If you ever want to remove the shutters, drill out the wood filler and remove the bolts. That should do the trick! 👍🏼
Hi Jamie, thank you for your quick reply. I wasn’t sure how hard the filler would be after it fully cured. I too am using concrete bolts drilling into the mortar.
Thanks again.
How much did this project cost you? Trying to weigh the benefit of saving money vs the convenience of buying them already completed! Thank you!
I’m wondering how they’ve held up these few years? I live in south Florida so the rain and humidity and heat are a huge impact.
They have held up great!
Love your exterior house color! What is the name of it!
What are the dimensions you used for the shutters and cross bar? 1×6 or 1×5?
Awesome! No words. You always go one step beyond.
There is so much great, useful information here. Thank you! Thank you! Thank you!
Read our guide if you wish.
Besttoolsbrand
Thanks again 🙂
Nice job. Did I miss where you wrote the width of each section if wood making up each panel.
I saw the thickness but not the width
Many thanks
My brother is making shutters for me, they will be 61” tall. Would you recommend a middle horizontal piece too?
Love the shutters and the color chosen! Like others that have seen your post, I’m also loving the color of the home. It pairs well with the shutter. Would love to paint my home the same color. Could you please tell me what color your house is painted?
Thanks for this post.
You did a beautiful job on your board & batten shutters!!
I was contemplating whether to build or buy but with your wonderfully detailed explanation & pictures, I think I will be building…with only one exception.
Since our windows are a little longer, I will add a 3rd batten in the middle.
Thanks again!
Love the shutters, it looks amazing! What color is your external brick house color?
I love it and I’m inspired. Thank you. My next do it yourself home project. Thanks a million
Wonderful! So happy to hear that!
Did anyone ever get the exterior paint color of the house?
Check out my post “exterior before & after” it is a custom color and I shared the details there!