A few weeks ago I worked with a Krissy (a professional organizer) at 2B Organized Kansas City to organize our pantry cabinet. Now, not only is our pantry organized but Krissy gave me lots of tips & tricks that can be applied to organizing ANY space in the home! I planned on blogging about this entire experience and everything I learned from Krissy but I figured it’d be best for y’all to hear it directly from her! So without further ado – Here she is!
Hey guys! My name is Krissy Frewin and I am the owner of 2B Organized Kansas City! I have been a professional organizer for about a year now, and I LOVE it! It is truly the best creative outlet for my OCD brain!
Over the past year, I have organized a LOT of different spaces! I’ve done garages, craft rooms, kitchens, living rooms, dog closets, offices, apartments, laundry rooms, bedrooms, basements, and everything in between. Far and away, the spaces I organize the most are closets, and pantries! These two areas actually happen to be two of my favorite spaces to organize!
So, when I worked with Jamie, I was thrilled to find out that she wanted to start with her pantry! As we were working on getting her pantry all organized and looking pretty, we thought it might be fun to share with you guys an easy step-by-step guide to organizing your own pantry! So, without further ado, here are five easy steps to organizing YOUR pantry!
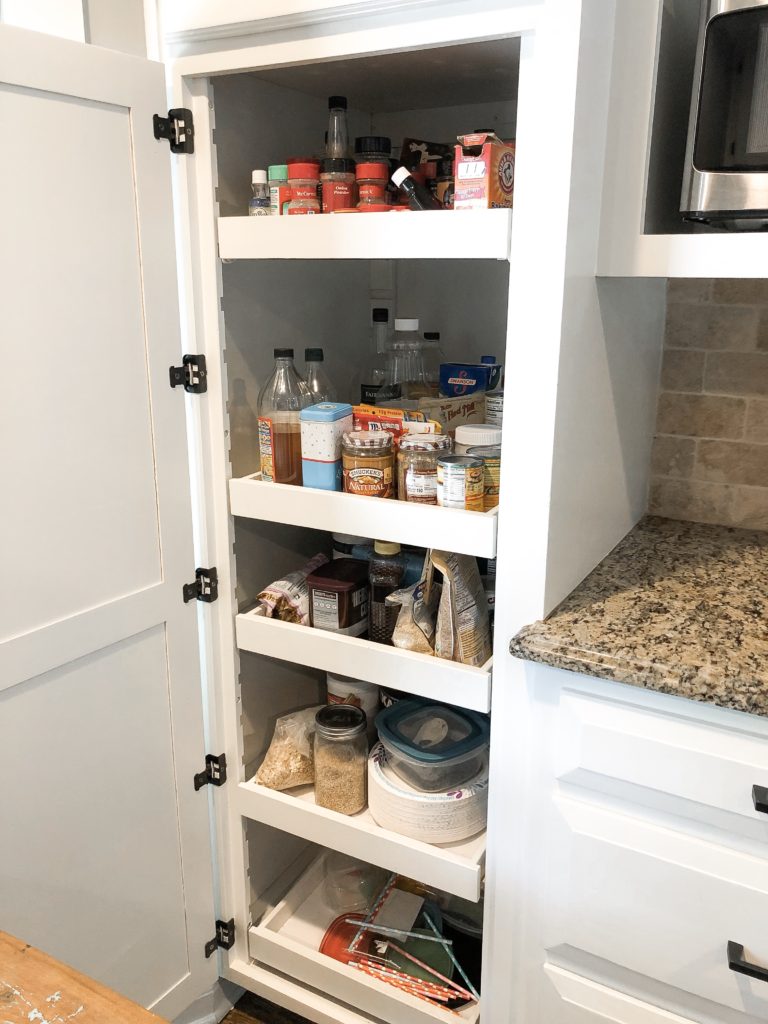 A before look at Jamie’s pantry cabinet.
STEP 1: PURGE!
Okay, so I know what some of you are thinking… the word “purge” is a litttttle harsh! But, it is the first step to any successful organizing venture. You can organize your stuff until your face turns blue, but why create space for something if it doesn’t serve a purpose? So, in terms of pantry organization, this is the time to pull EVERYTHING OUT! Yep, I mean everything. Anything that is expired, or stale, or something you didn’t like but spent a good chunk of money on so you have been hesitant to throw it away, say it with me now, TOSS! IT! Any canned goods or unopened (NON-expired, non-perishable) items can be donated to your local food pantry. If you store any of your appliances in your pantry, this is a good time to sort through these as well. Do you have a fondue maker that you got for your wedding 10 years ago and it’s still in the box? If so… it’s time to part with it.
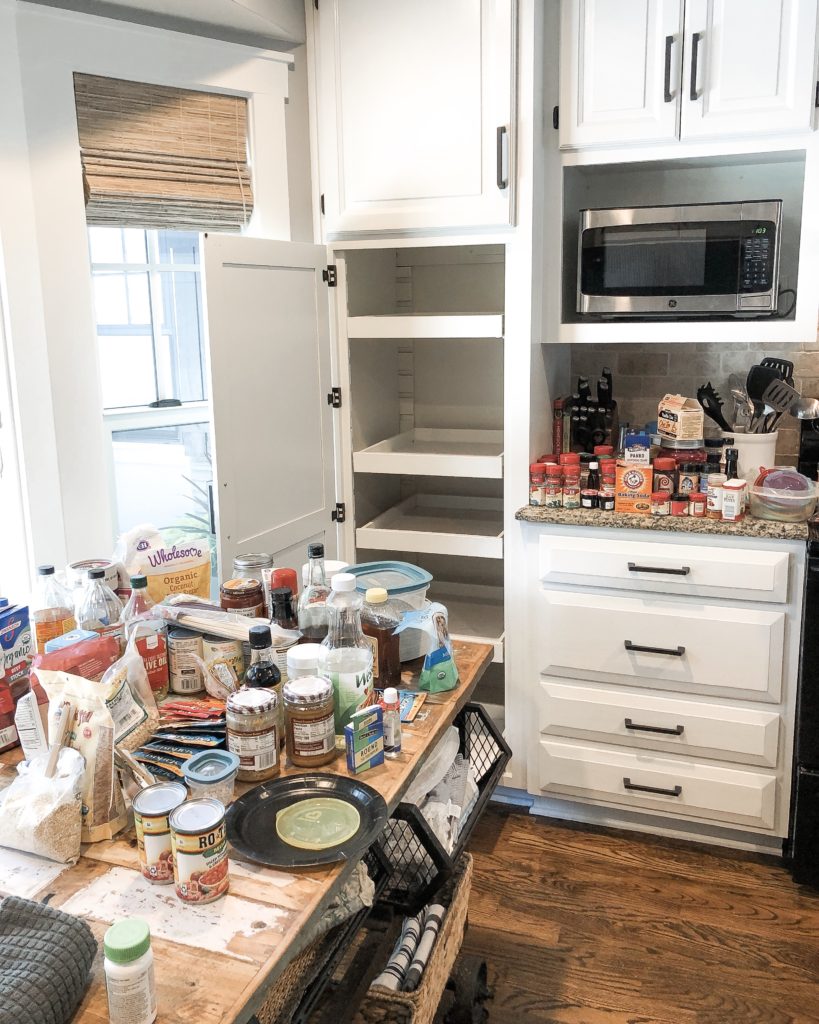 Jamie’s kitchen during the purge process.
STEP 2: CATEGORIZE
Congrats! Purging is the hardest part. So now that you’ve been ruthless and gotten rid of all the things you won’t use, it’s time to categorize the items that are left. Every pantry is going to be different, so don’t feel like you need to fit your items into cookie-cutter categories. Some popular categories that you might fit into are: baking, sauces, canned goods, breads/starches, grains, crackers, nuts, & snacks. You are going to physically sort your items into piles according to their category. PRO TIP: Do a big grocery shop BEFORE you start organizing so you can categorize accordingly.
STEP 3: CONTAIN
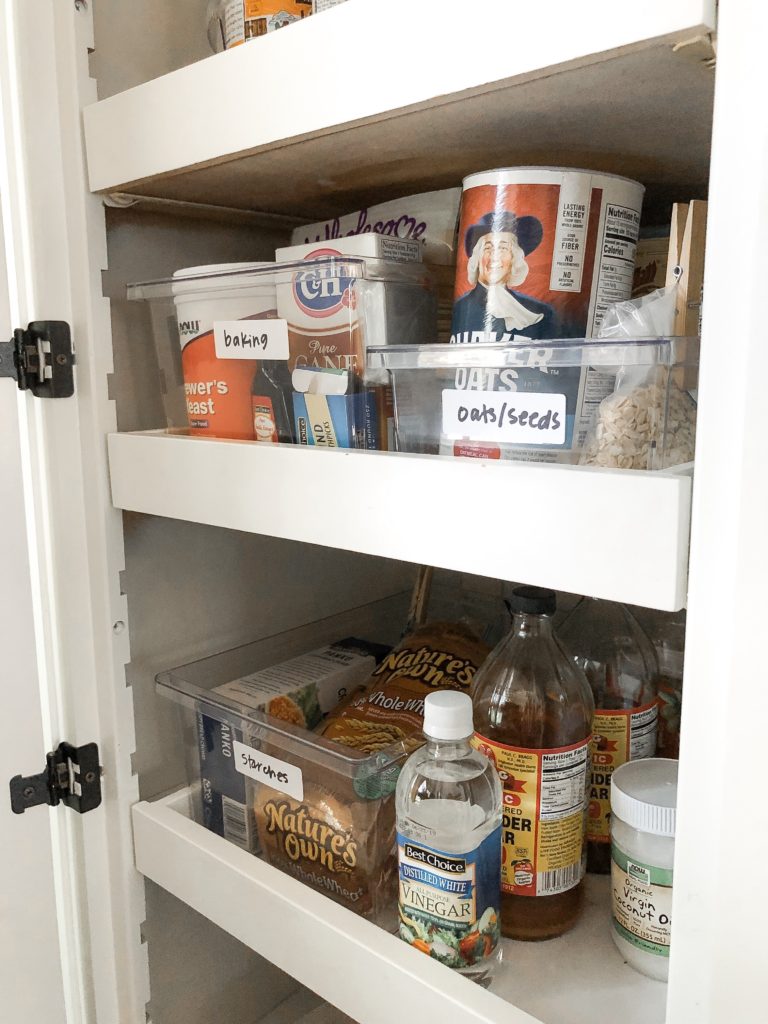
Do you have your categories all sorted out? Good job! Now is the time when we find bins to contain your items. Containment really is key, because if your items have a home, they will be more likely to end up there when you’re finished using them and not all willy-nilly in your pantry to get lost forever. A few of my favorite items will be linked, but make sure to do some measuring first to see what kind of items will fit in your own pantry. In Jamie’s pantry, we went with these clear rectangular bins from Target – These were great for her style of pantry because of the pull out drawers. The clear bins help her to easily see what all she has! I also love decanting things like cereal, rice, flour, sugar, and snacks into OXO canisters for max visibility and cohesiveness!
STEP 4: CLEAN
STOP! I know it feels like you’re nearing the end, but don’t put anything back in just yet! This is the perfect time to re-line your pantry with sticky liner (if this applies to you) and to wipe down any surfaces that have accumulated crumbs or spills. Jamie and I used a little handheld vacuum to get all those pesky crumbs out from the crevices! Side note: If you are replacing your liner, get something white! It doesn’t have to be stark white, but anything white with a light pattern will help lighten up your space. Dark colors in an already poorly lit space makes it feel gloomy. There is nothing worse than a dark pantry! (Okay… I’m sure there are actually worse things.. But you get the picture!)
STEP 5: LABEL
Did you finish wiping everything down? Way to go! NOW you can put your bins into place and you are ready to label your containers. This is the easy part! You already have your categories, so all you have to do is slap on a cute, legible label (this label maker makes cute retro-looking labels) that will help you and others in your home know where items go when it’s time to clean up! Side note: I would NOT recommend buying pre-packaged labels unless you know for sure that it has the category labels you need in there. Usually you’ll have a random category like “birthday supplies” or “snacks for dad” which typically don’t show up in a pre-packaged label book.
The finished product!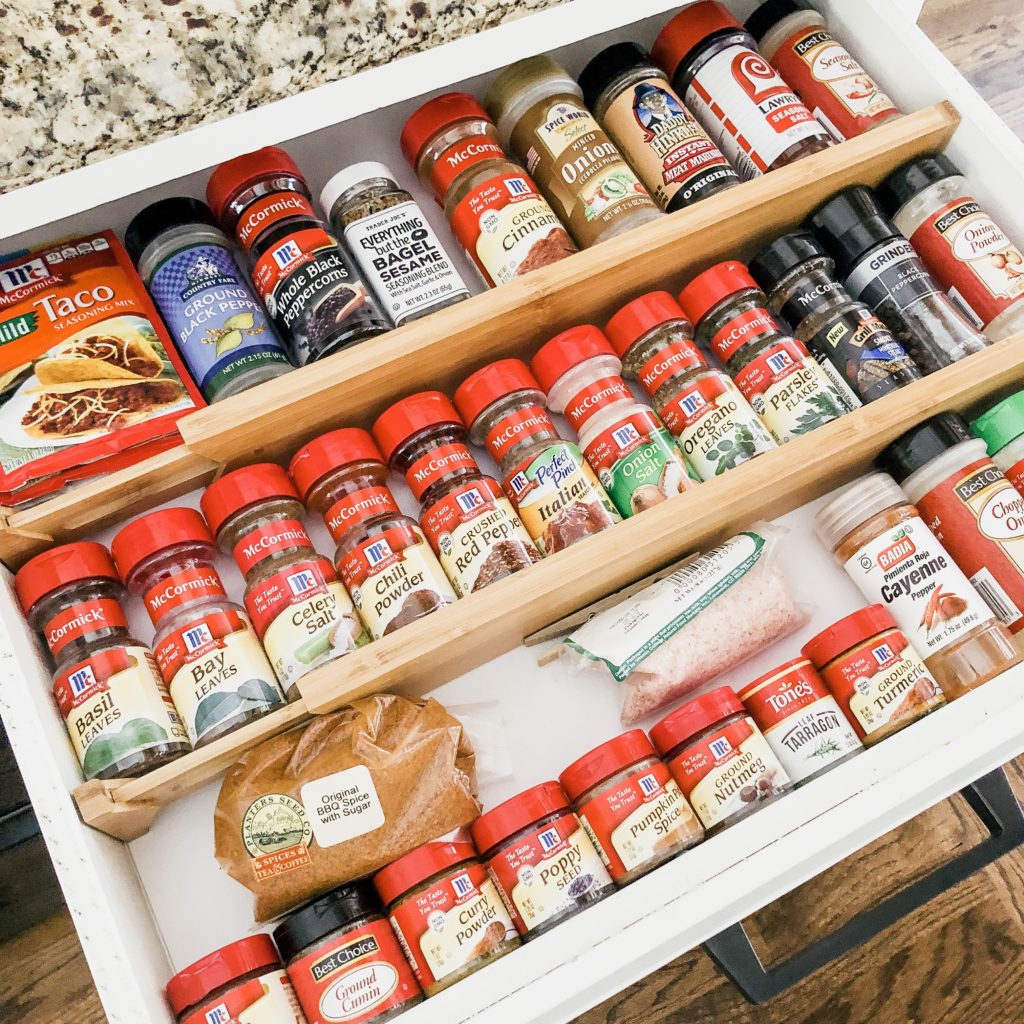
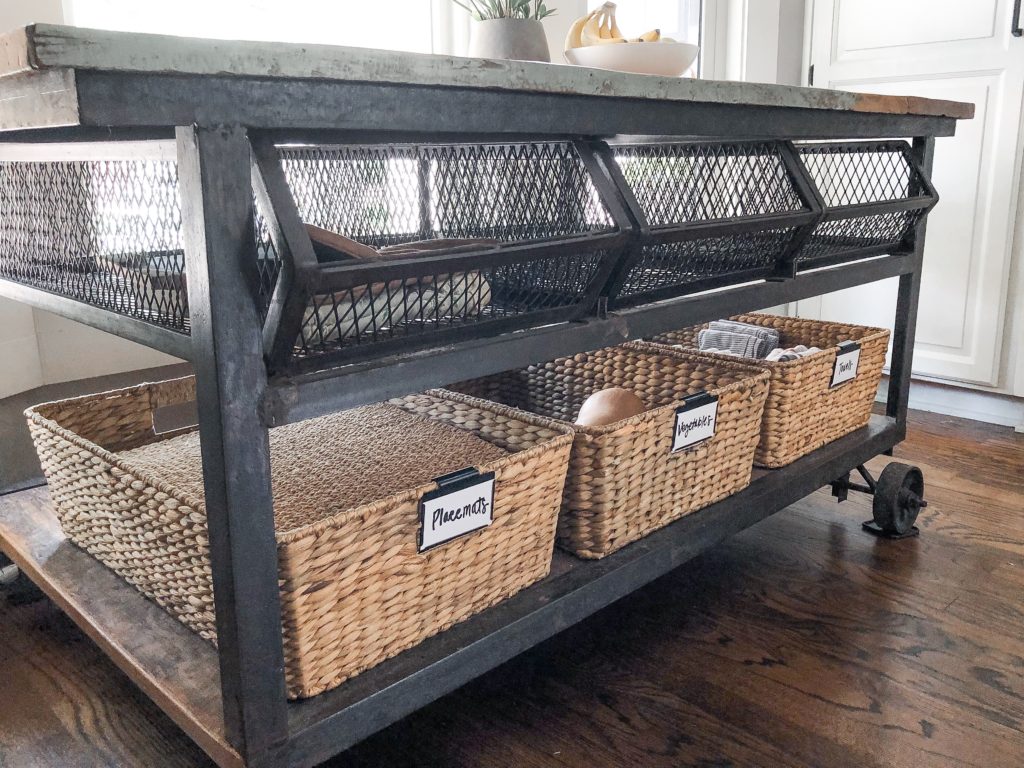
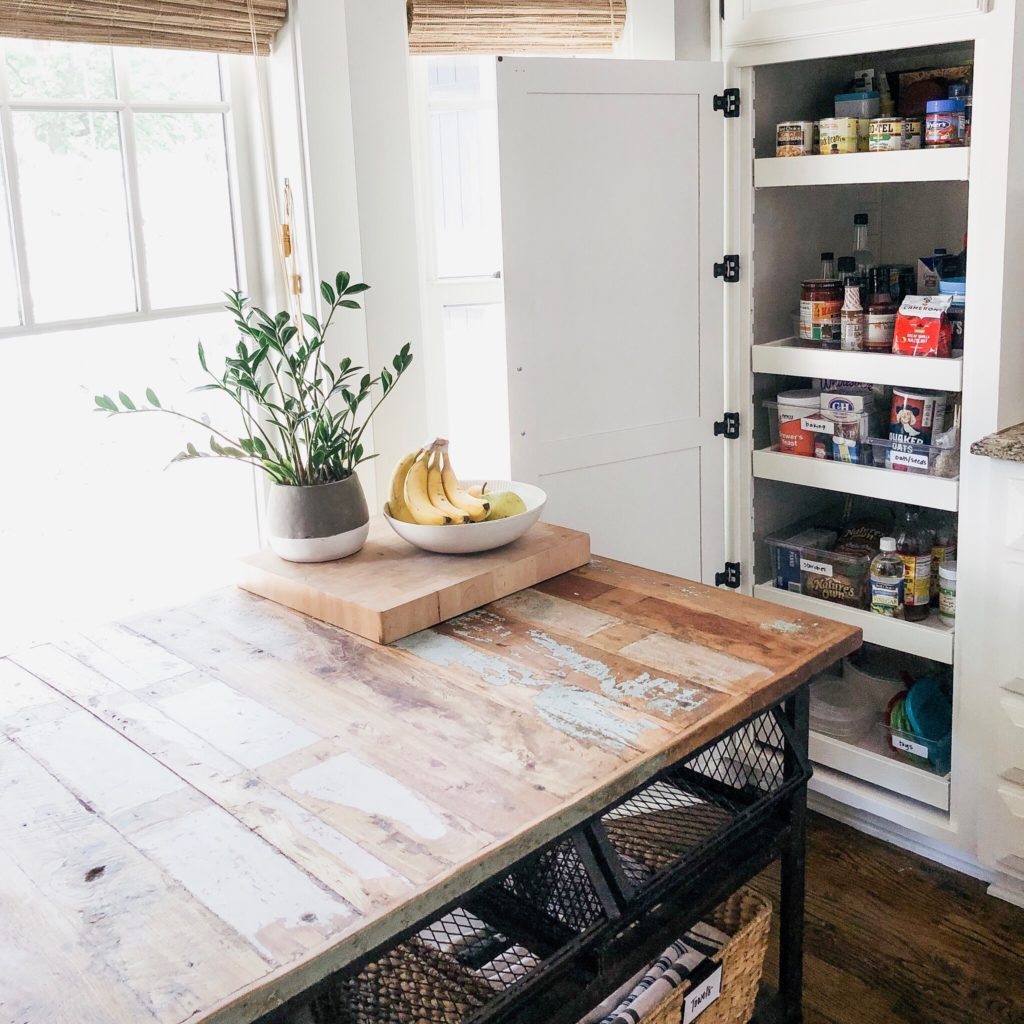
Start enjoying your organized pantry!
Congratulations! You did it! So, now that your pantry is all organized, send me a pic (@2borganizedkc)! I’d love to see how it turned out! 🙂
For those of you who might be interested in becoming a professional organizer… 2B Organized is a franchise! We currently have 7 locations and are growing rapidly! Feel free to reach out to me at Krissy@2b-organized.com if organizing is something you are passionate as well! I have loved every second of being a franchise owner and I can’t believe I make money doing something I would do for free if I could! It is literally my dream come true!
So helpful, right?! I absolutely loved working with Krissy! These steps making organizing your pantry (or any space) SUPER easy – However, what’s even easier than doing it yourself? Hiring someone to organizing your space for you! I can’t recommend working with a professional organizer enough. Like Krissy said, 2B Organized is a franchise! Check them out and see if there is one in your area!
Hope you all enjoyed this post! Thanks for stopping by!
Jamie

Can you tell me where you got that table that pictured in your kitchen? It has the baskets under it and the black wire part under it too?
It’s from a flea market!
Hi, this is great! Your doing good! I have a passion for it as well, but, I am not to creative minded, so never started doing it. It’s fun! And, I will volunteer to places that need my creative skills, and gain a small clientele has well. You have some good tips, and I hope I have some to you! Thank you jesse! Kaloni